Creating a custom UIViewController container
So what are we going to create?
Begin with the project structure
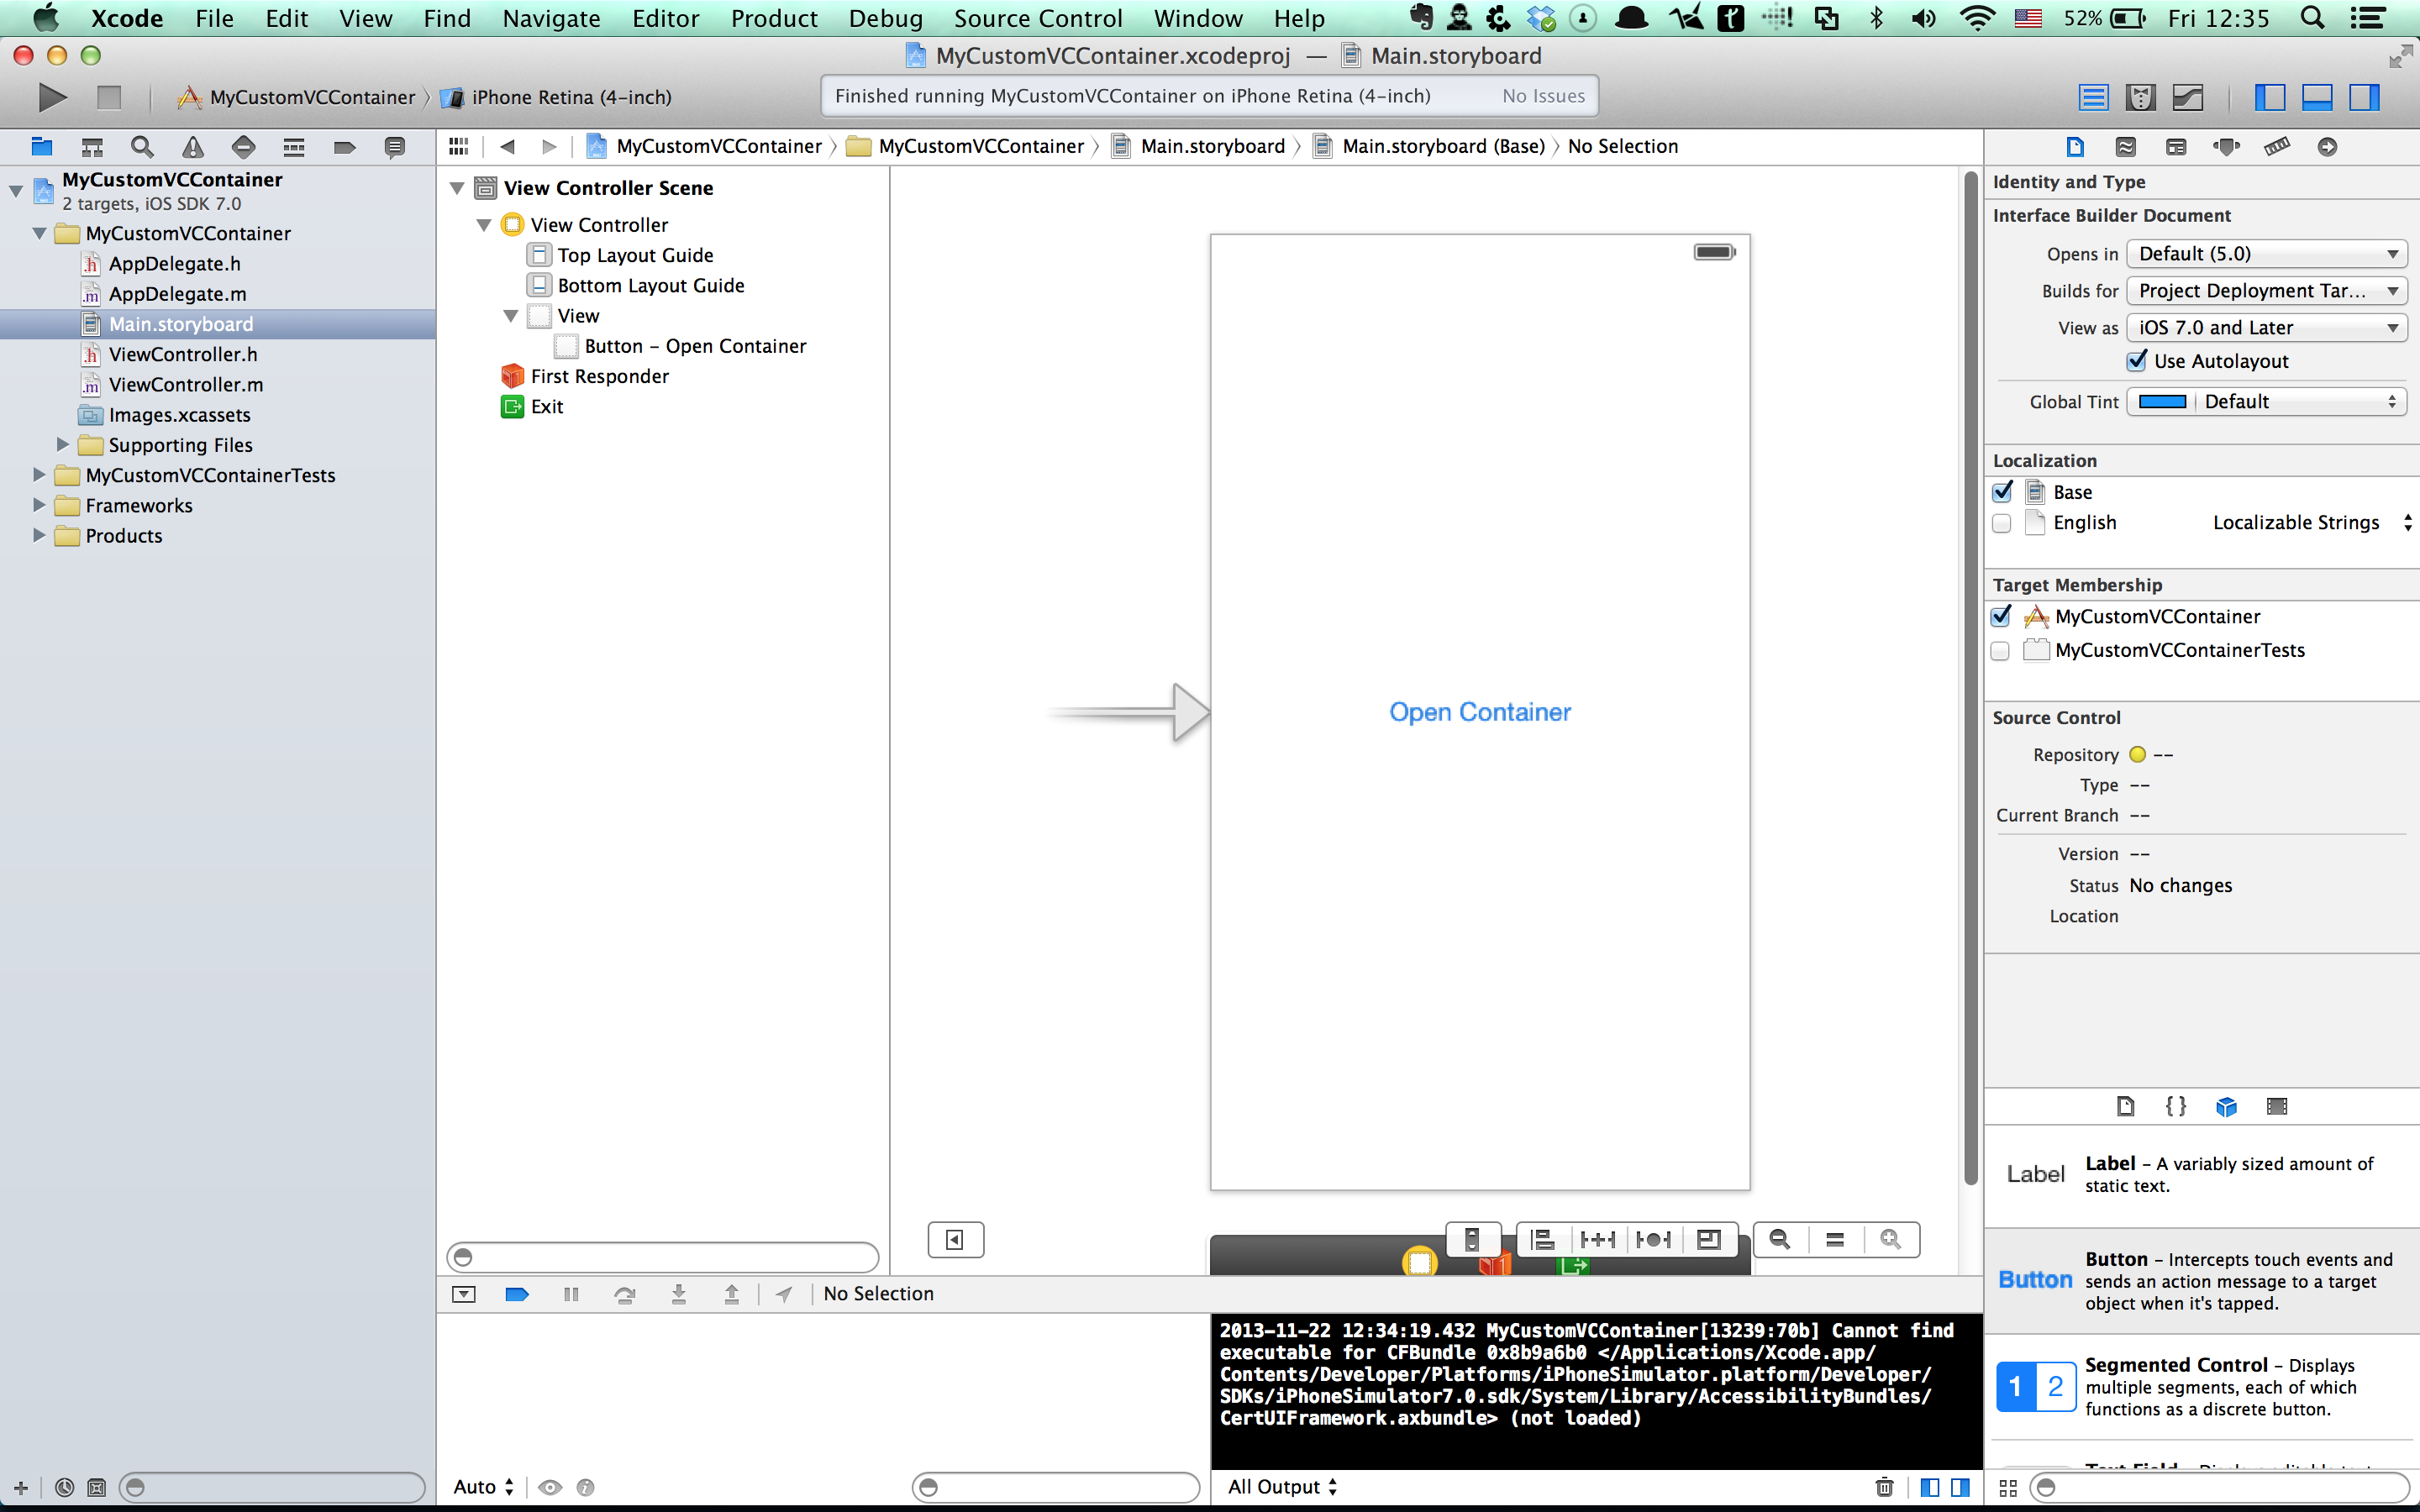
We’ll begin by starting a new single-view xcode project, usually I create my views programmatically (and that’s how I’ll create the custom container) but for the basic structure we’ll use storyboards.

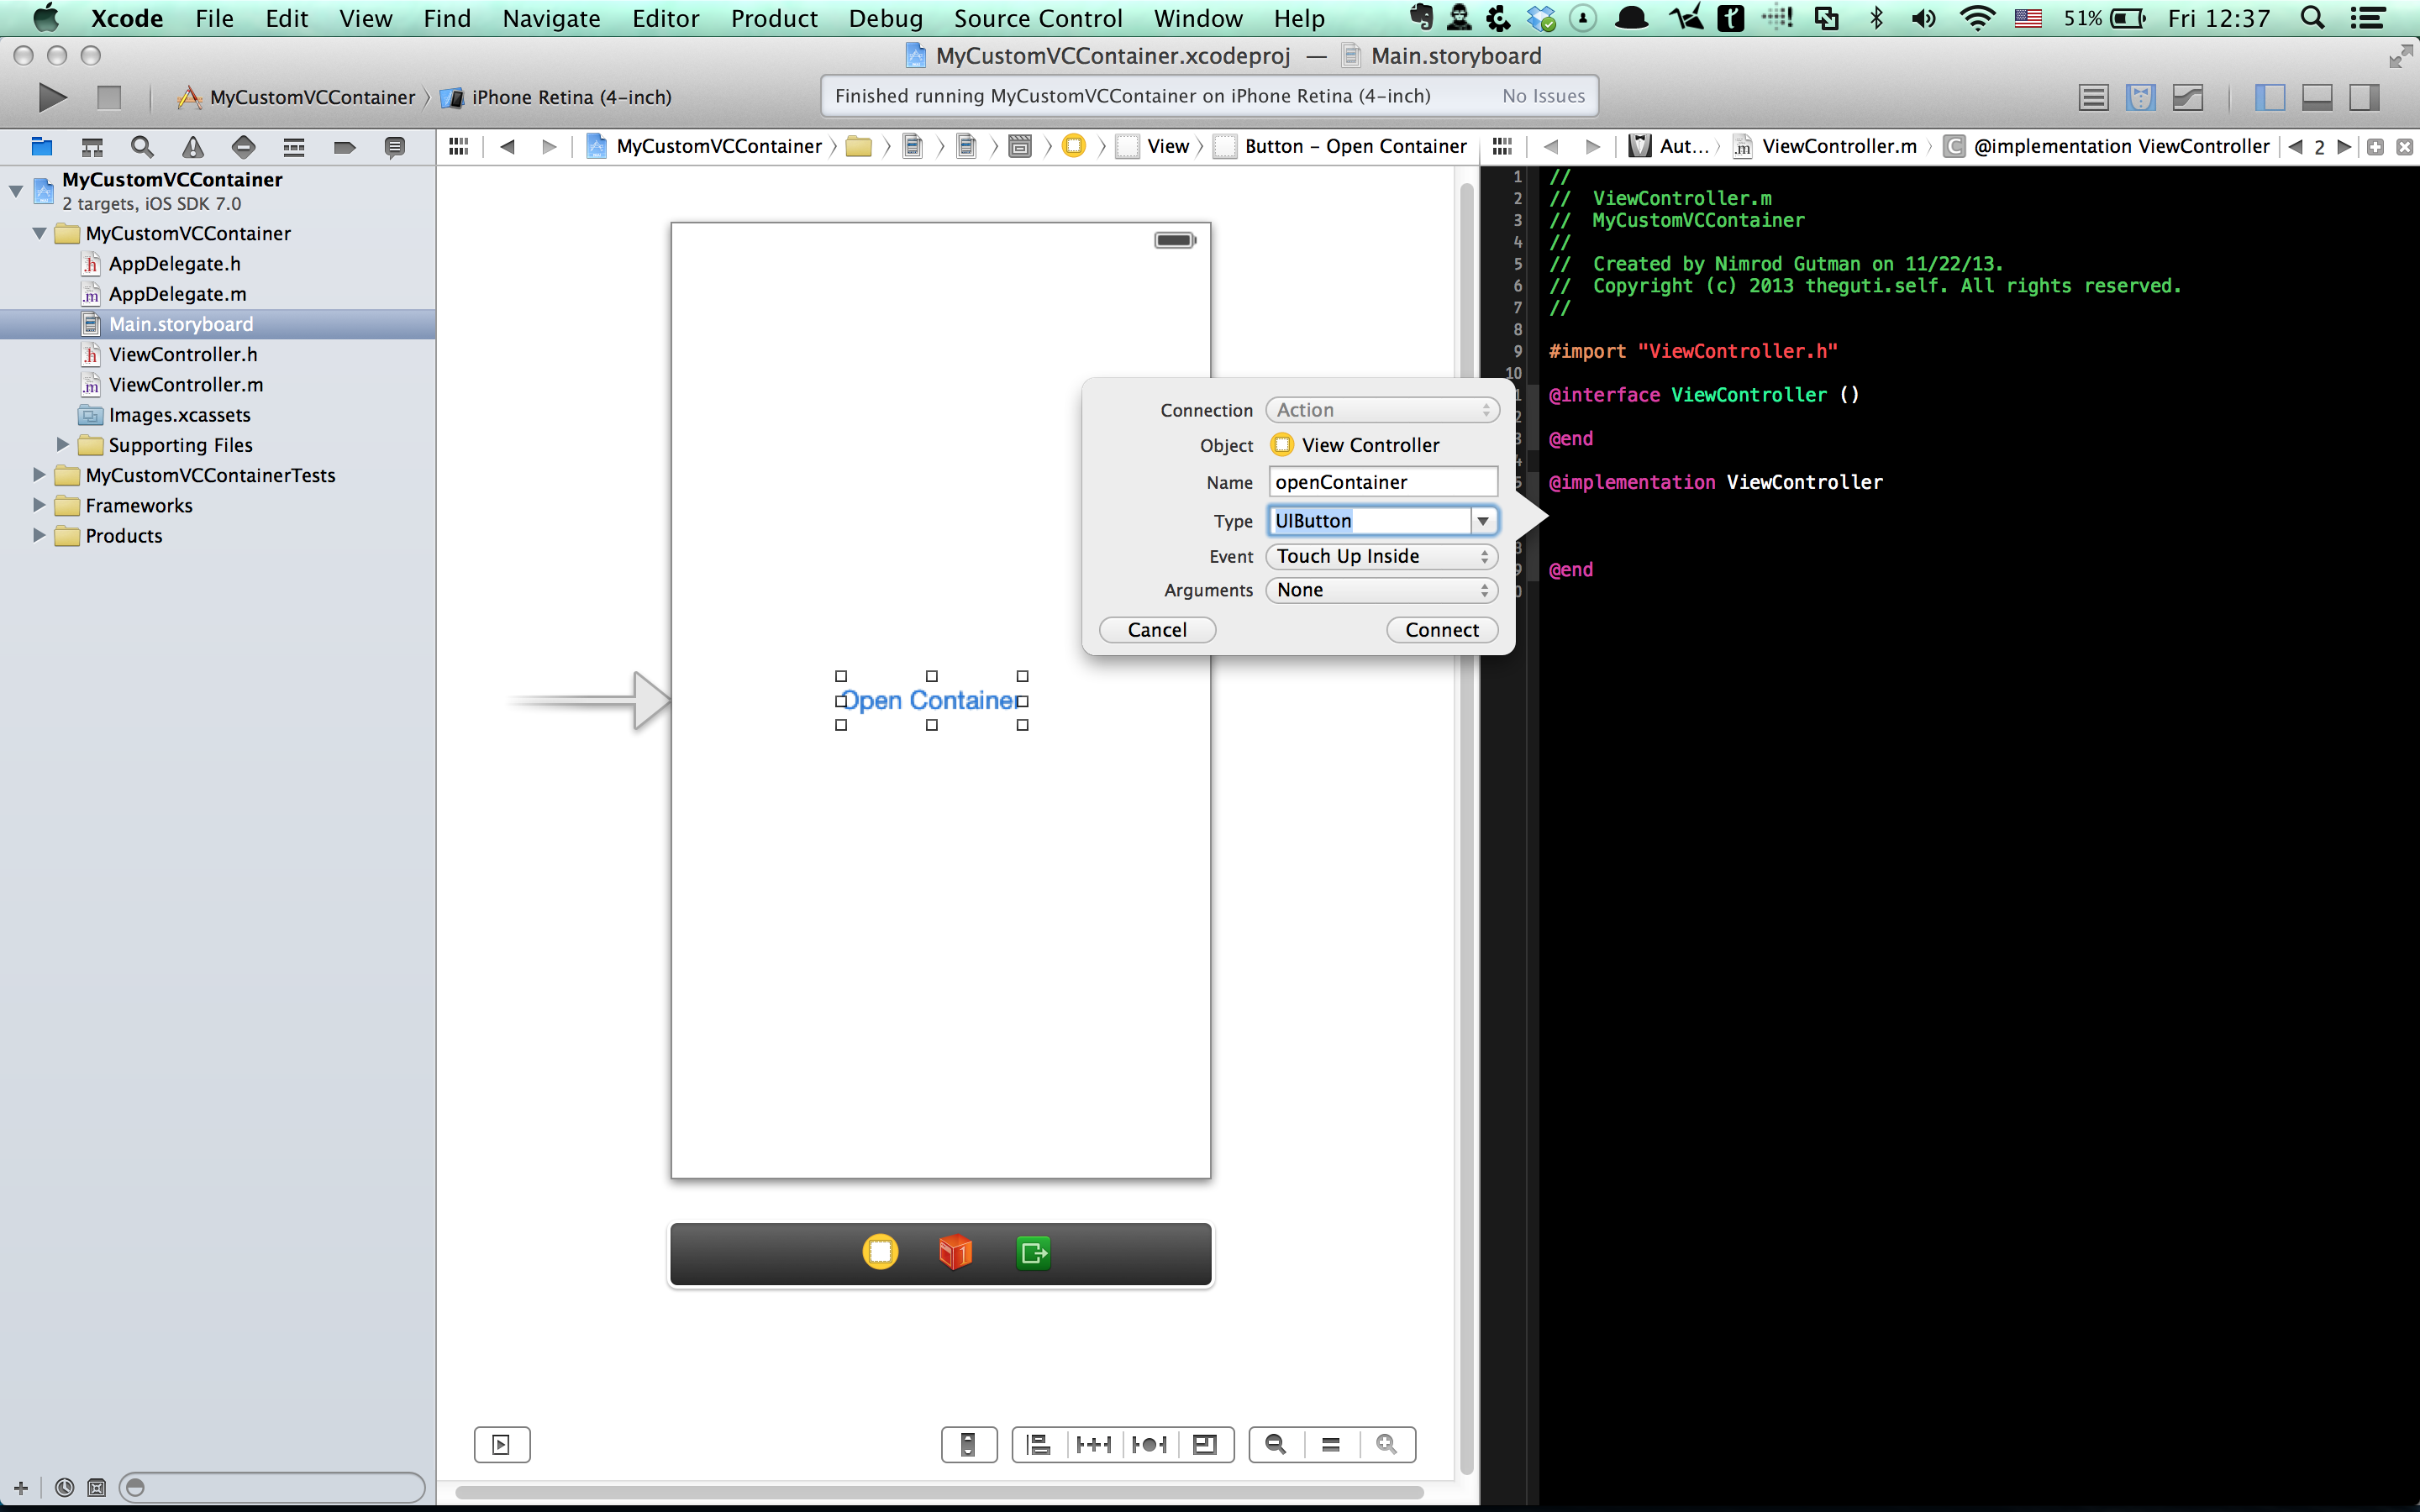
We’ll drop a button and connect it to our generated ViewController
And let’s link the touch up inside event to a method
Now the fun part begins, let’s create a new UIViewController - that’ll be our cool container we’ll use to animate the appearance and disappearance of our child view controllers in.
Take a look at these gists, right now we’re still missing the main functionality but it can save you a couple of seconds writing.
Adding a UISegmentedControl to the title
Now we’ll want to add a UISegmentedControl and link a UIControlEventValueChanged action to it, we’ll do everything inside the viewDidLoad method of our VC
We’re going to have a default UIViewController to show (something like a root view controller for a UINavigationBar), it’ll be the one matching the left tab which we selected by default using self.segmentControl.selectedSegmentIndex = 0;, let’s add it as a child view controller when our view loads.
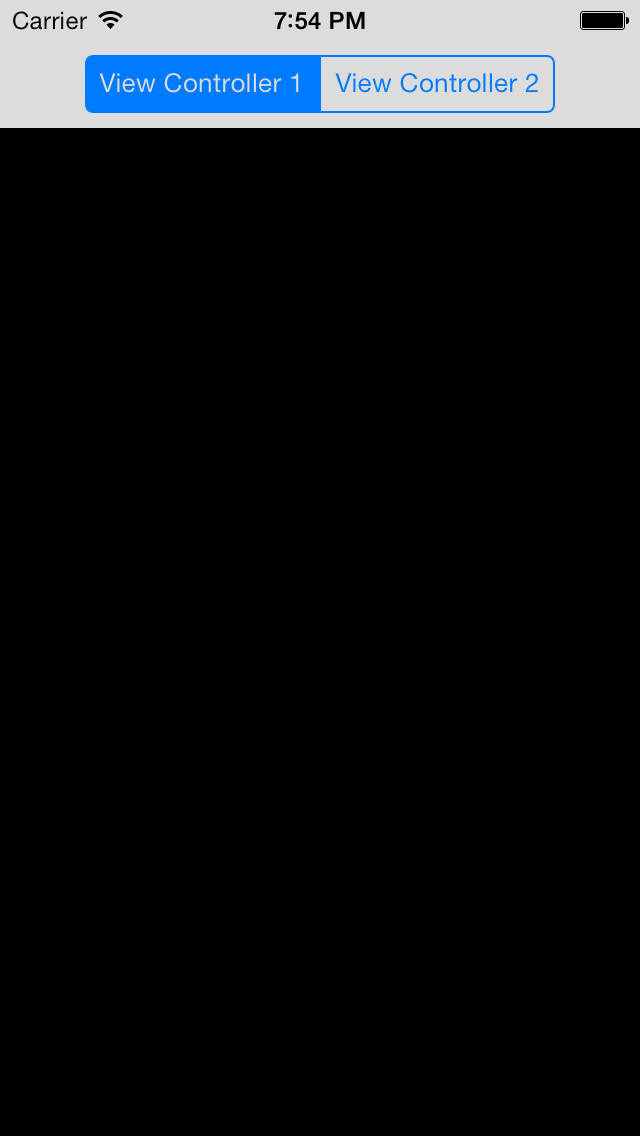
I created a very bare UIViewController called GGViewController1 having a black background that we will use.
You should have something looking like this now, we’re on fire!
Let the animations begin!
Now it’s time to animate the transition between the view controllers after the user clicks on the tab, we’re going to use transitionFromViewController:toViewController:duration:options:animations:completion.
This is a convenience method Apple supplied that will add the toViewController view to our hierarchy and remove the fromViewController view from it. Please note that you can do it yourself (that’s how I actually implemented my version of the custom container).
We also need to save the currently displayed view controller somewhere to easily interact with it. Let’s change our loadViewController: to do it
Now let’s connect it to our ’tap’ action -
You can see how I “flip” between the views, I use the ugly isKindOfClass:, it’s only for learning purposes (making the example as simple as it can be). For production code I’d use something else.
This is where we should stand right now -
Finishing it up
You can see we’re almost there, our animation looks fine when clicking on the right button, when clicking again on the left button the transition is weird.
This is happening because currently the animation is set to move the transitioned view controller from right-to-left, we need to alter the direction!
We’re going to add a fromLeft:(BOOL) to our loadViewController: method to look like this -
Amazing!
Don’t forget to change all the places we use loadViewController:fromLeft:
Where to go from here?
So we’re done here, hope you learnt something, I know personally I was always intimidated with customizing UIViewControllers behaviours and messing with animations (even simple ones). The code I wrote here lacks a lot of qualities like
- Unit testing
- UIViewController <> UIView isolation
- Generalization (The VCs are hard coded in the container)
I’ll leave it as homework :)
Everything is available on GitHub. Have fun!