Soundwaves - Our 1700 LEDs Art-Installation

Inception
Working on an art-installation was bound to happen sooner or later after I was introduced to the world of Burning Man in 2014. The same year Israel have had its first “official” regional-burn, MidBurn, and I’ve attended both. It was a crazy experience, I was lucky to attend MidBurn first so my mind didn’t completely explode (basically I had time to mentally prepare myself) several months later in Nevada. The amount of art-installations was staggering, and the fact that most projects were built by folk like you and me even more appealing.
Project Kick-off
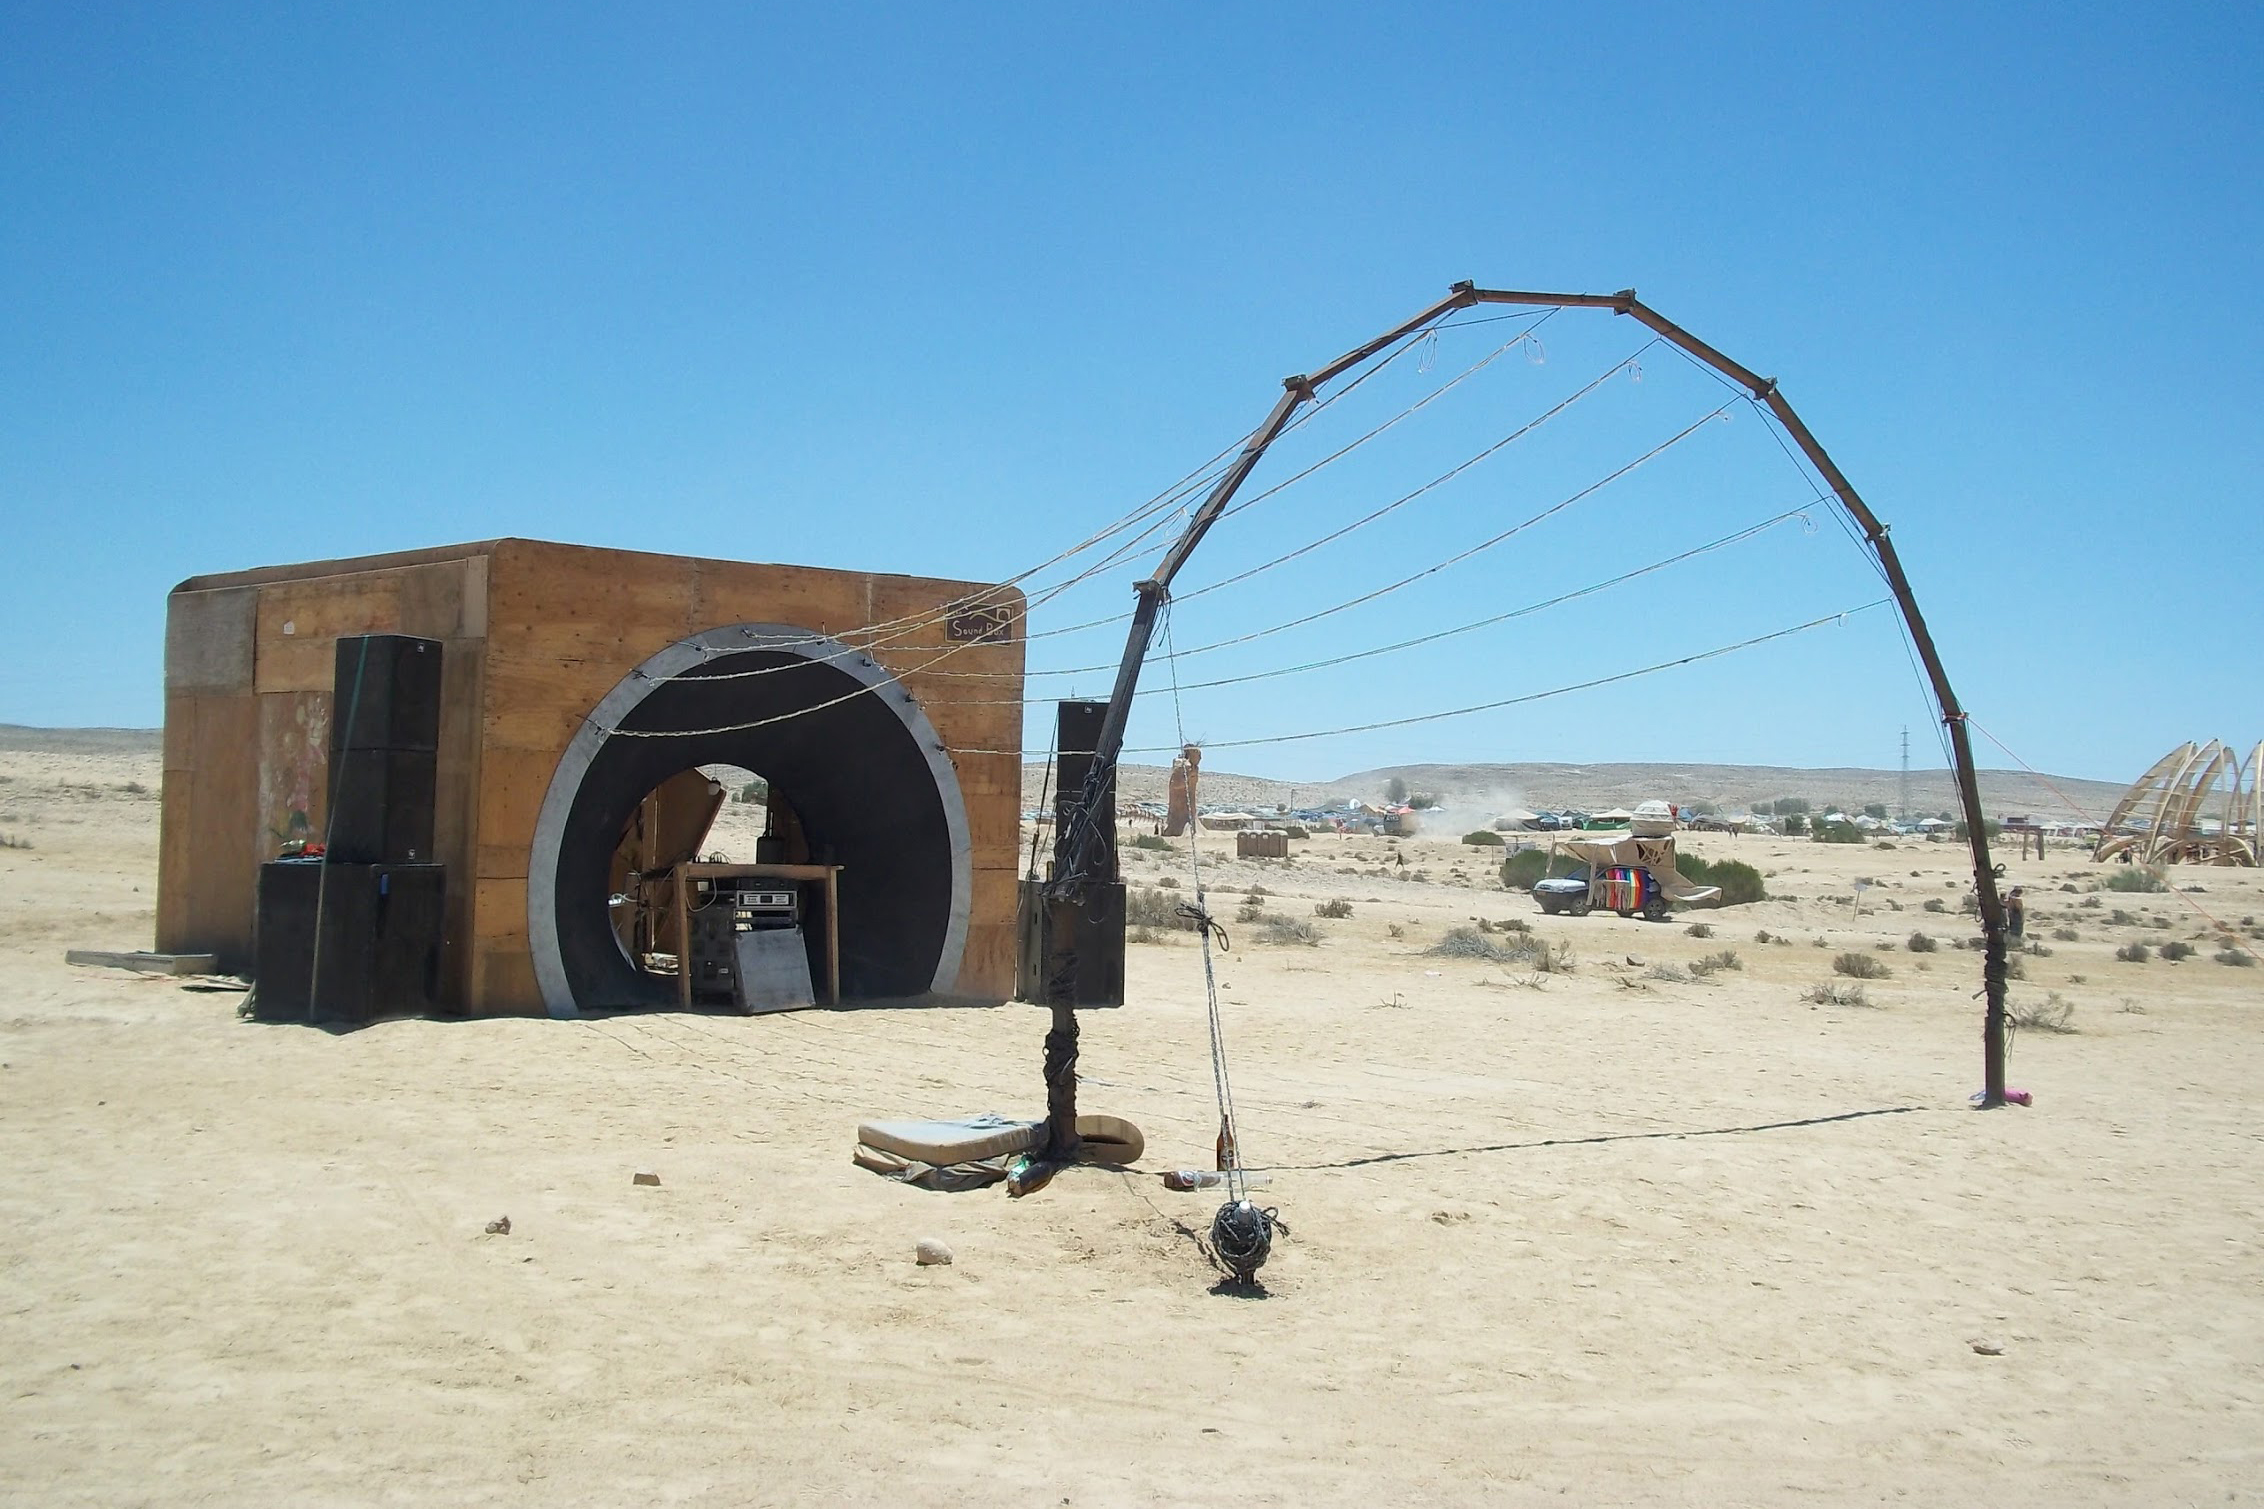
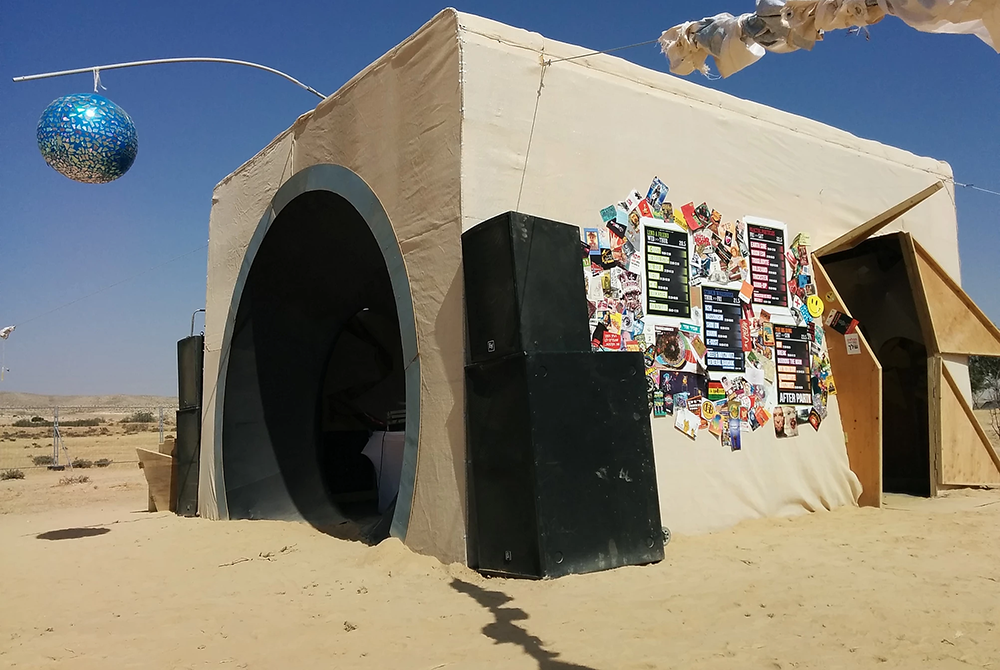
Fast-forward two years - some time before MidBurn 2016 a good friend hooked up with a very talented group of people that worked on an art-installation named “Soundbox”, a very large speaker built from wood, that sits in the deep-playa playing music day and night. They’ve always dreamed about adding sound-controlled LEDs to the project, visualizing the music as “waves” shooting out into the open space. The team included David Brailovsky - a good friend and a colleague, and Tom Amir - another good friend that came with a lot of experience we lacked, such as welding and actually building physical stuff.
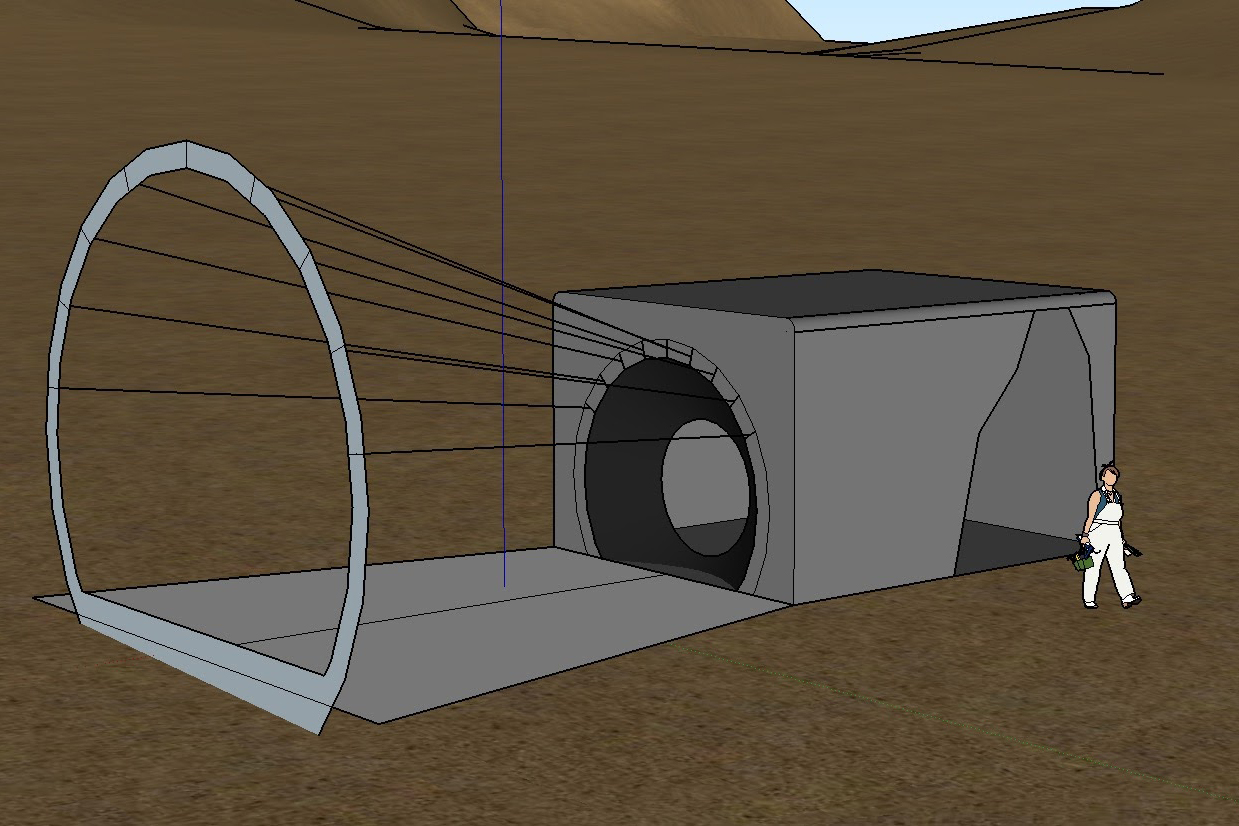
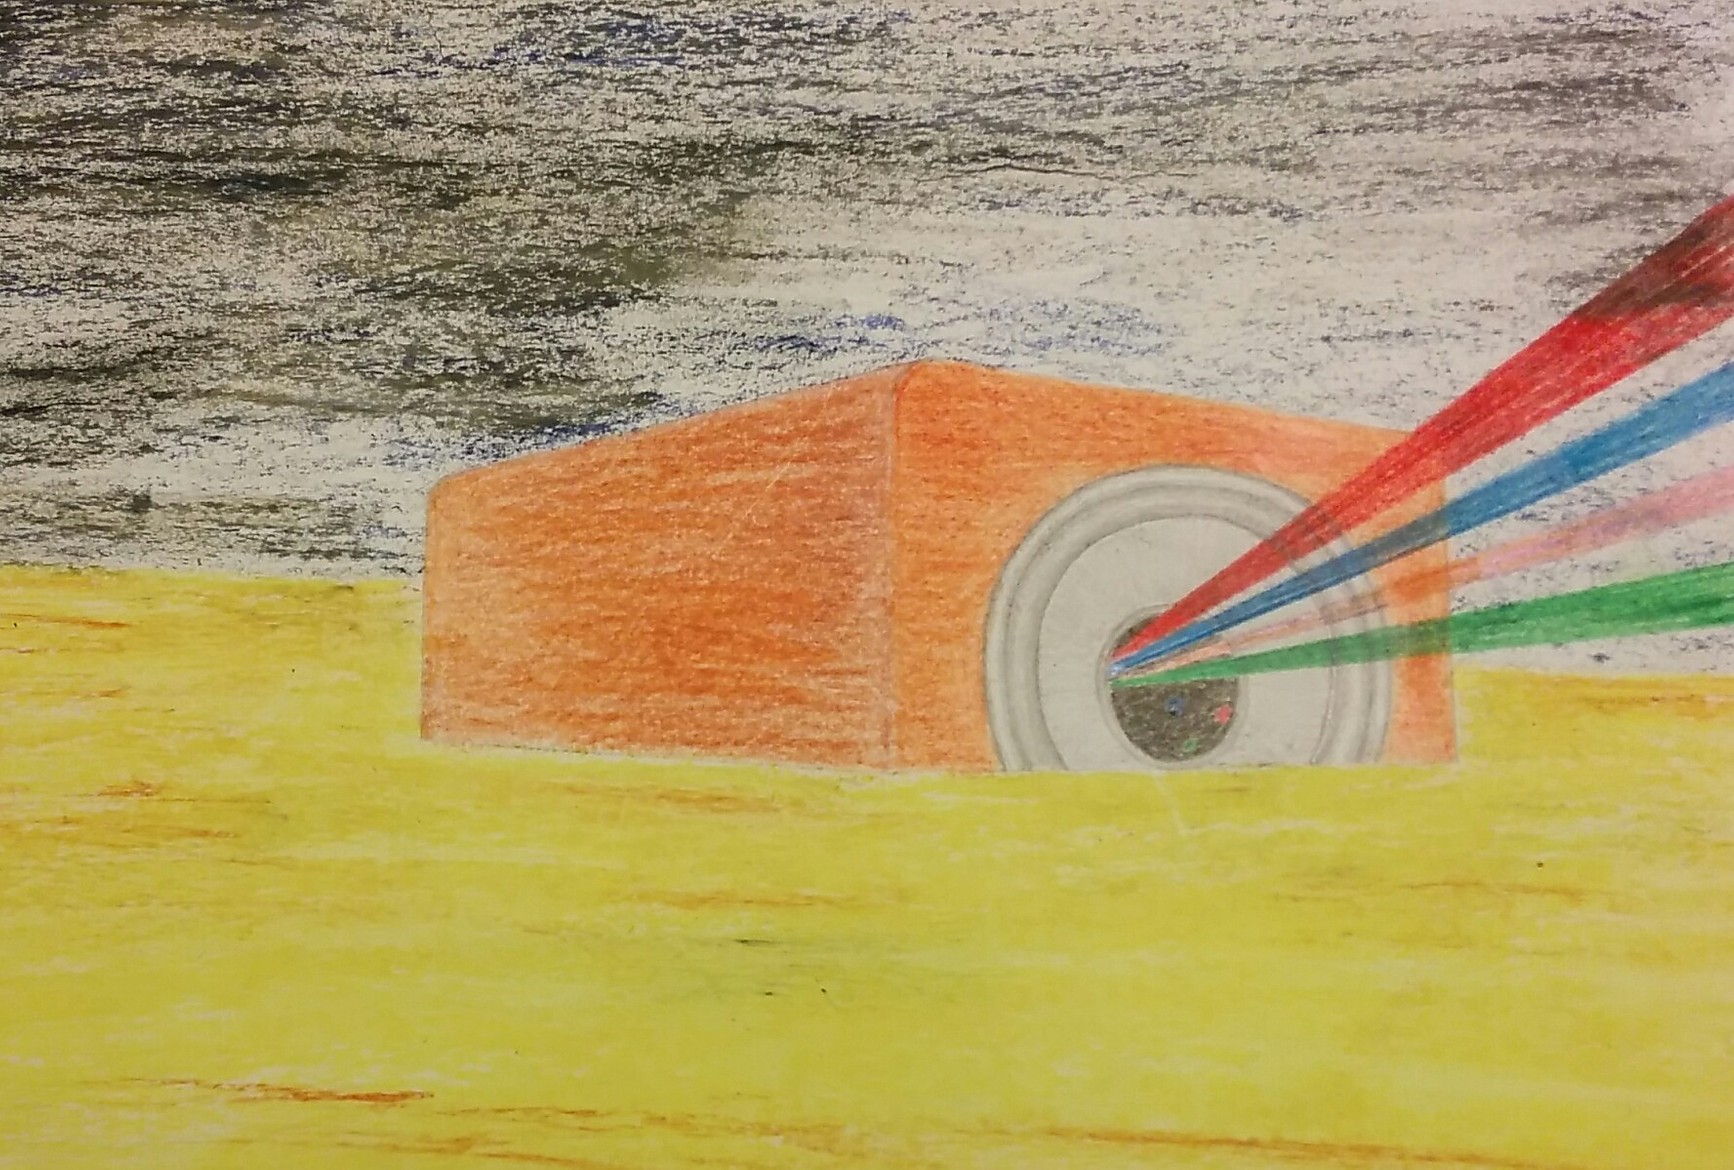
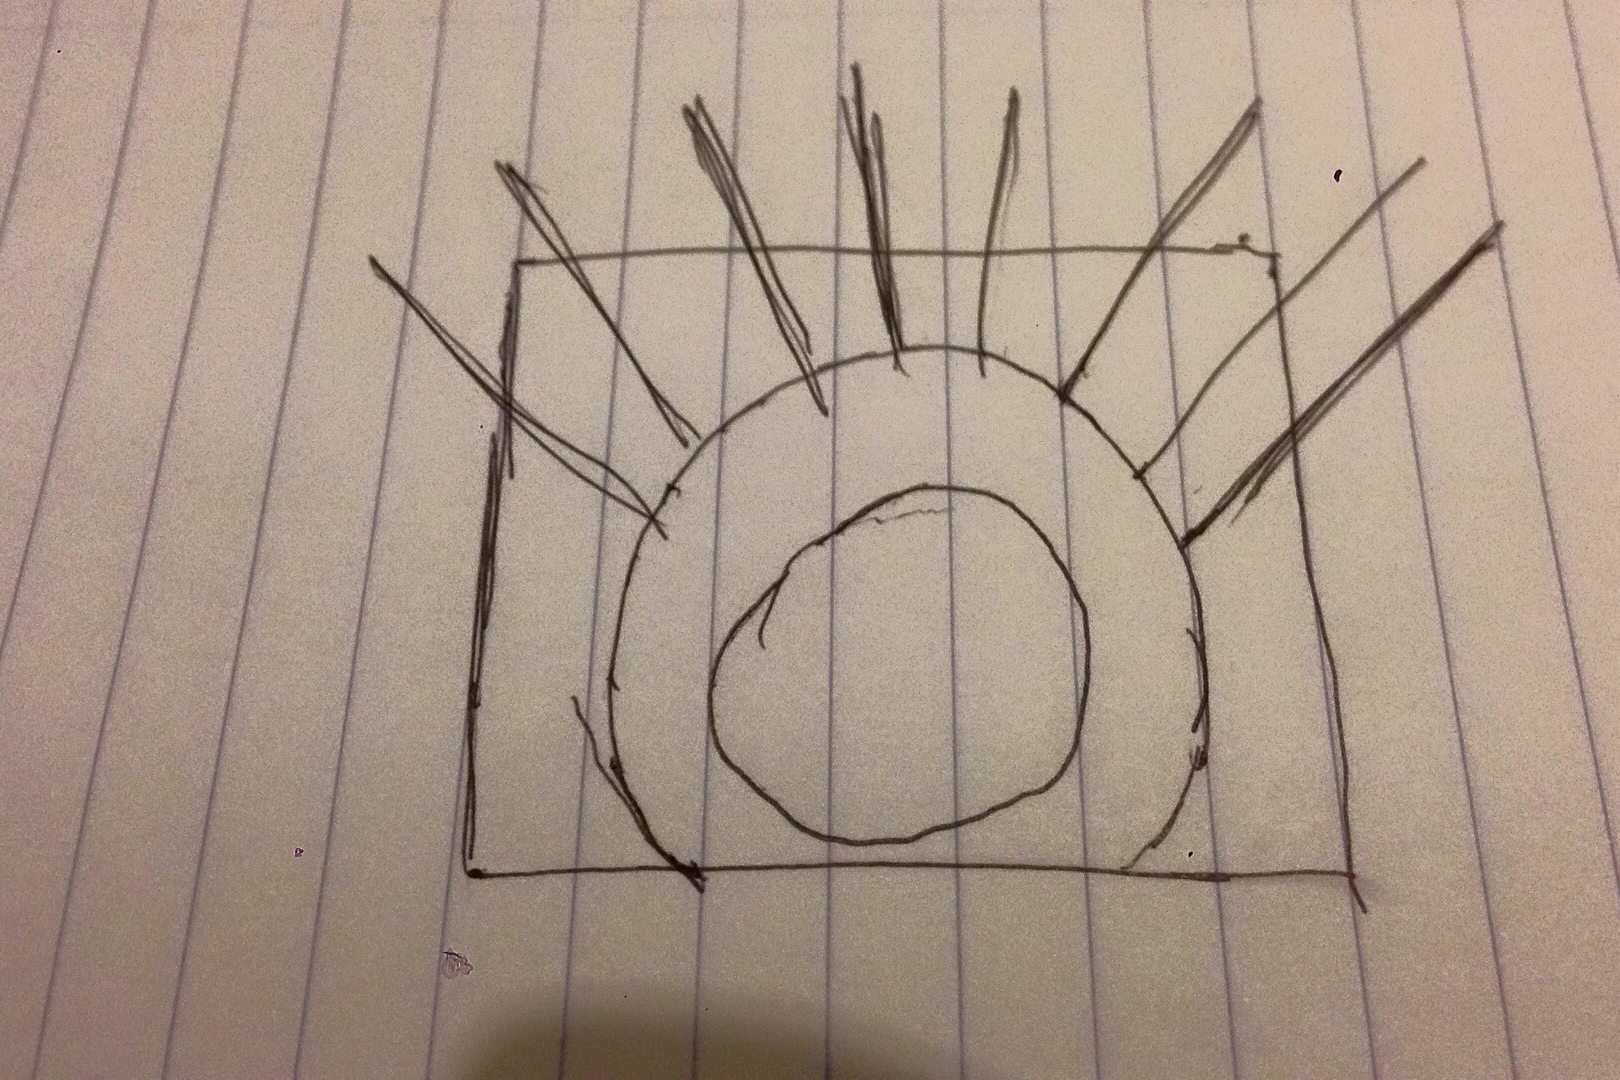
We had the time and experience to help make that happen, and so Soundwaves was born. We wanted to try and visualize the “sound waves” as literally as possible so we envisioned long strips of LEDs going out from the speaker and connecting to a big arc a few meters away. At that point we still had about a million questions we needed to answer (how to build the arc, which materials to use, power requirements, light diffusion material… etc’).

Main Details
After we had a rough understanding how we want the art-installation to look like, we wanted to dive into the details 👏. We broke down the necessary work bit by bit, asking questions such as “How can X be done? / How much will it cost? / Will it survive the desert conditions?”. It involved a lot of online research, talking to professionals on some critical subjects (structural engineering for example, we didn’t want to kill anyone).
Arc Structure
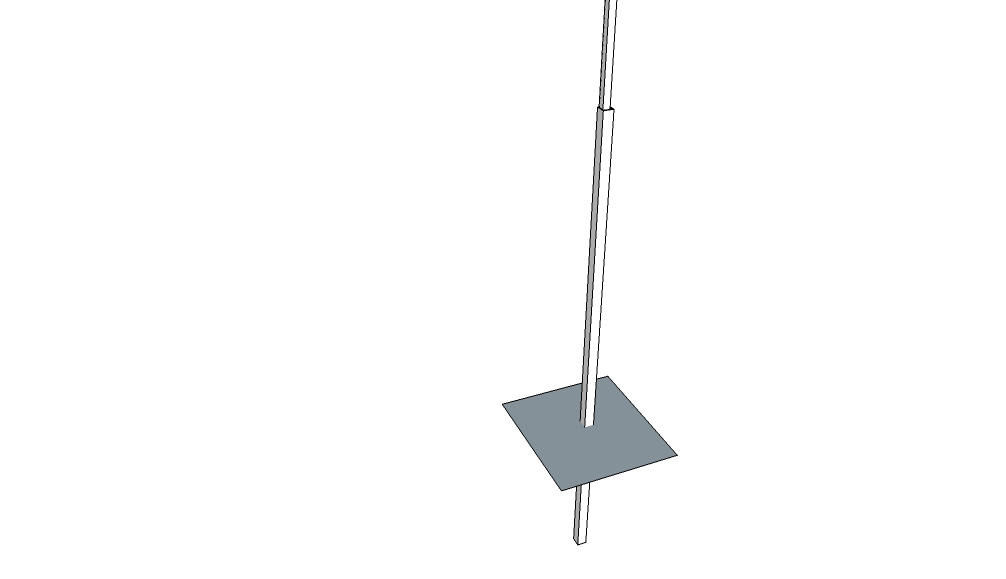
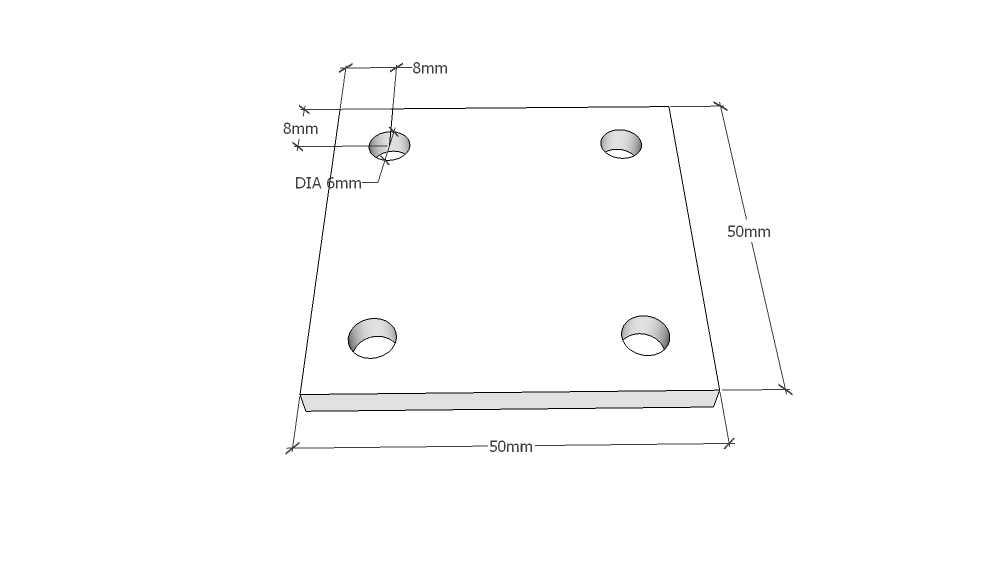
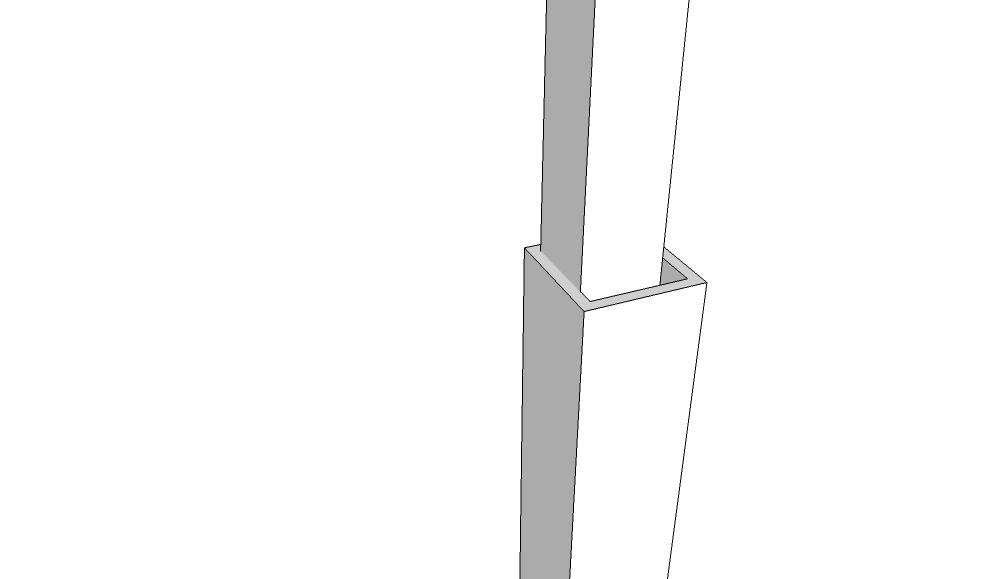
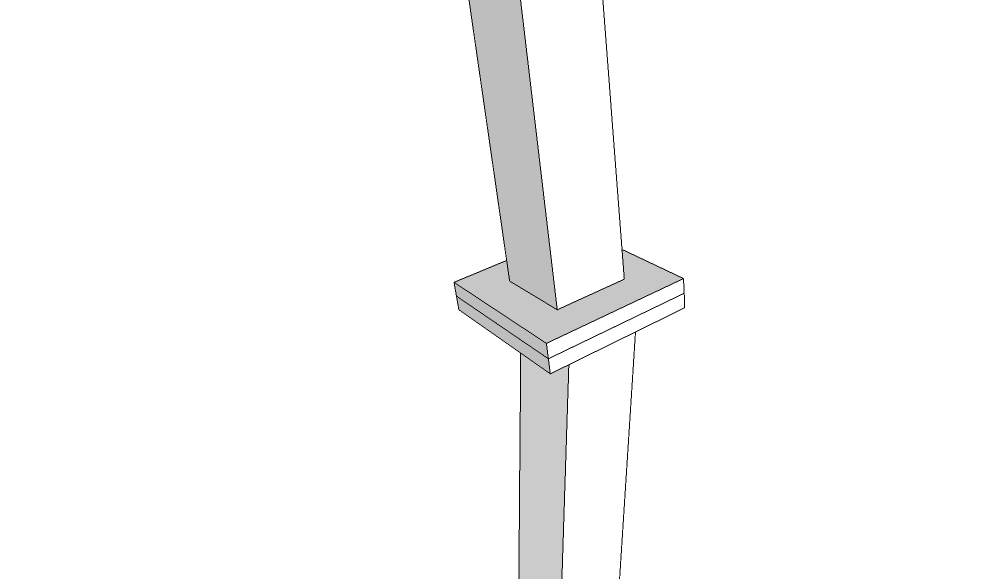
The arc was built from the standard 40x80mm rectangular galvanized steel profile, that was cut into eleven parts with 10° on each side. 120x120x8 steel board was welded on each side of the profile with holes for 1/2’’ bolts. The whole structure was supported by sliding the profiles on each end into a big steel leg that was buried in the ground for extra support. Tom did an amazing work on welding the structure.
Overall the dimensions of the arc were 4.6 meters high and 7 meters diameter - pretty big!


Hardware
The hardware requirements were dictated from the dimensions of the installation with several parameters we could control:
- LED type (WS2812b/WS2812/WS2801/WS2811… etc')
- LED strip density (# LEDs / meter)
Once these two parameters were set we could calculate the total number of LEDs we’ll have, and from there the power and processing requirements. The extensive planning was integral for the project, it took some experimentation to settle on the exact details, there are numerous solutions out there for the same problem, we chose simplicity over-optimization since it was the first time we did anything on that scale.
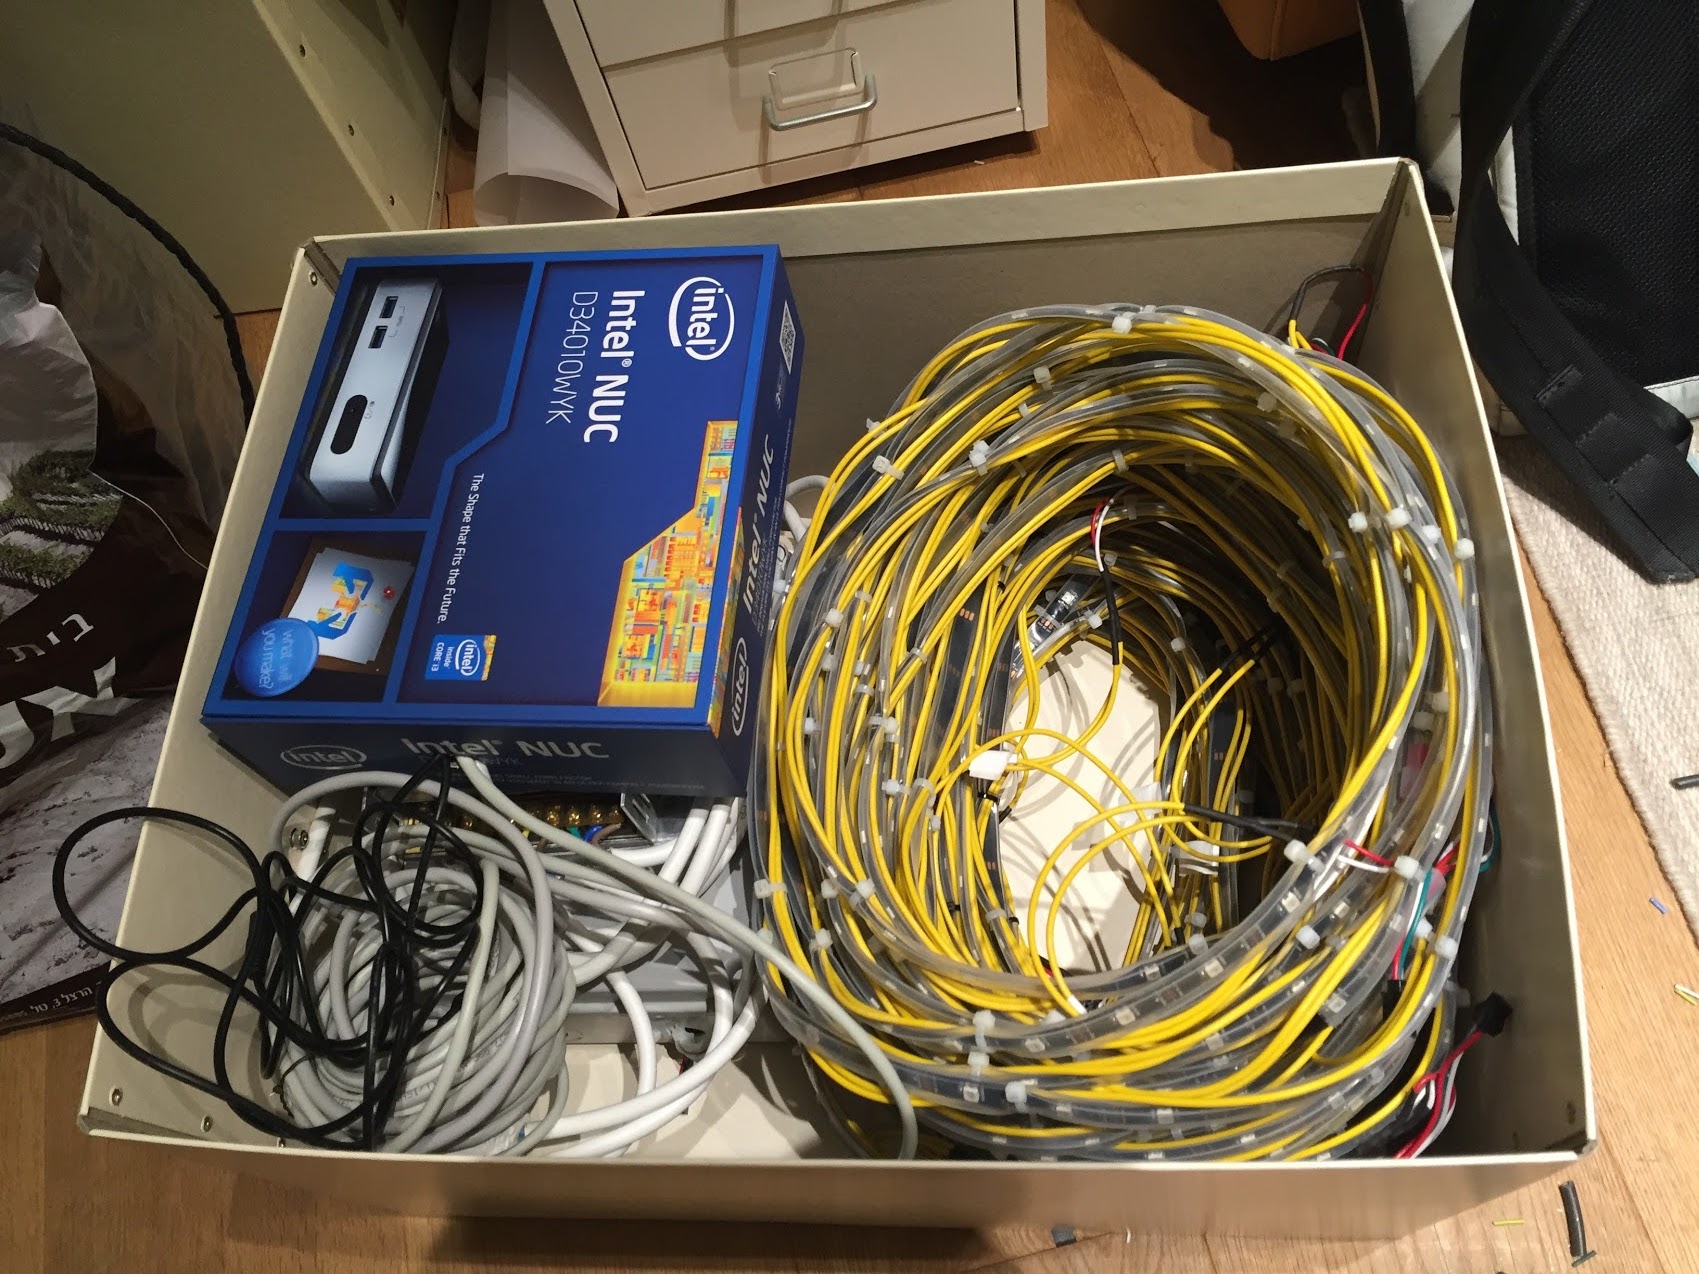
Eventually the hardware that was used for the installation was
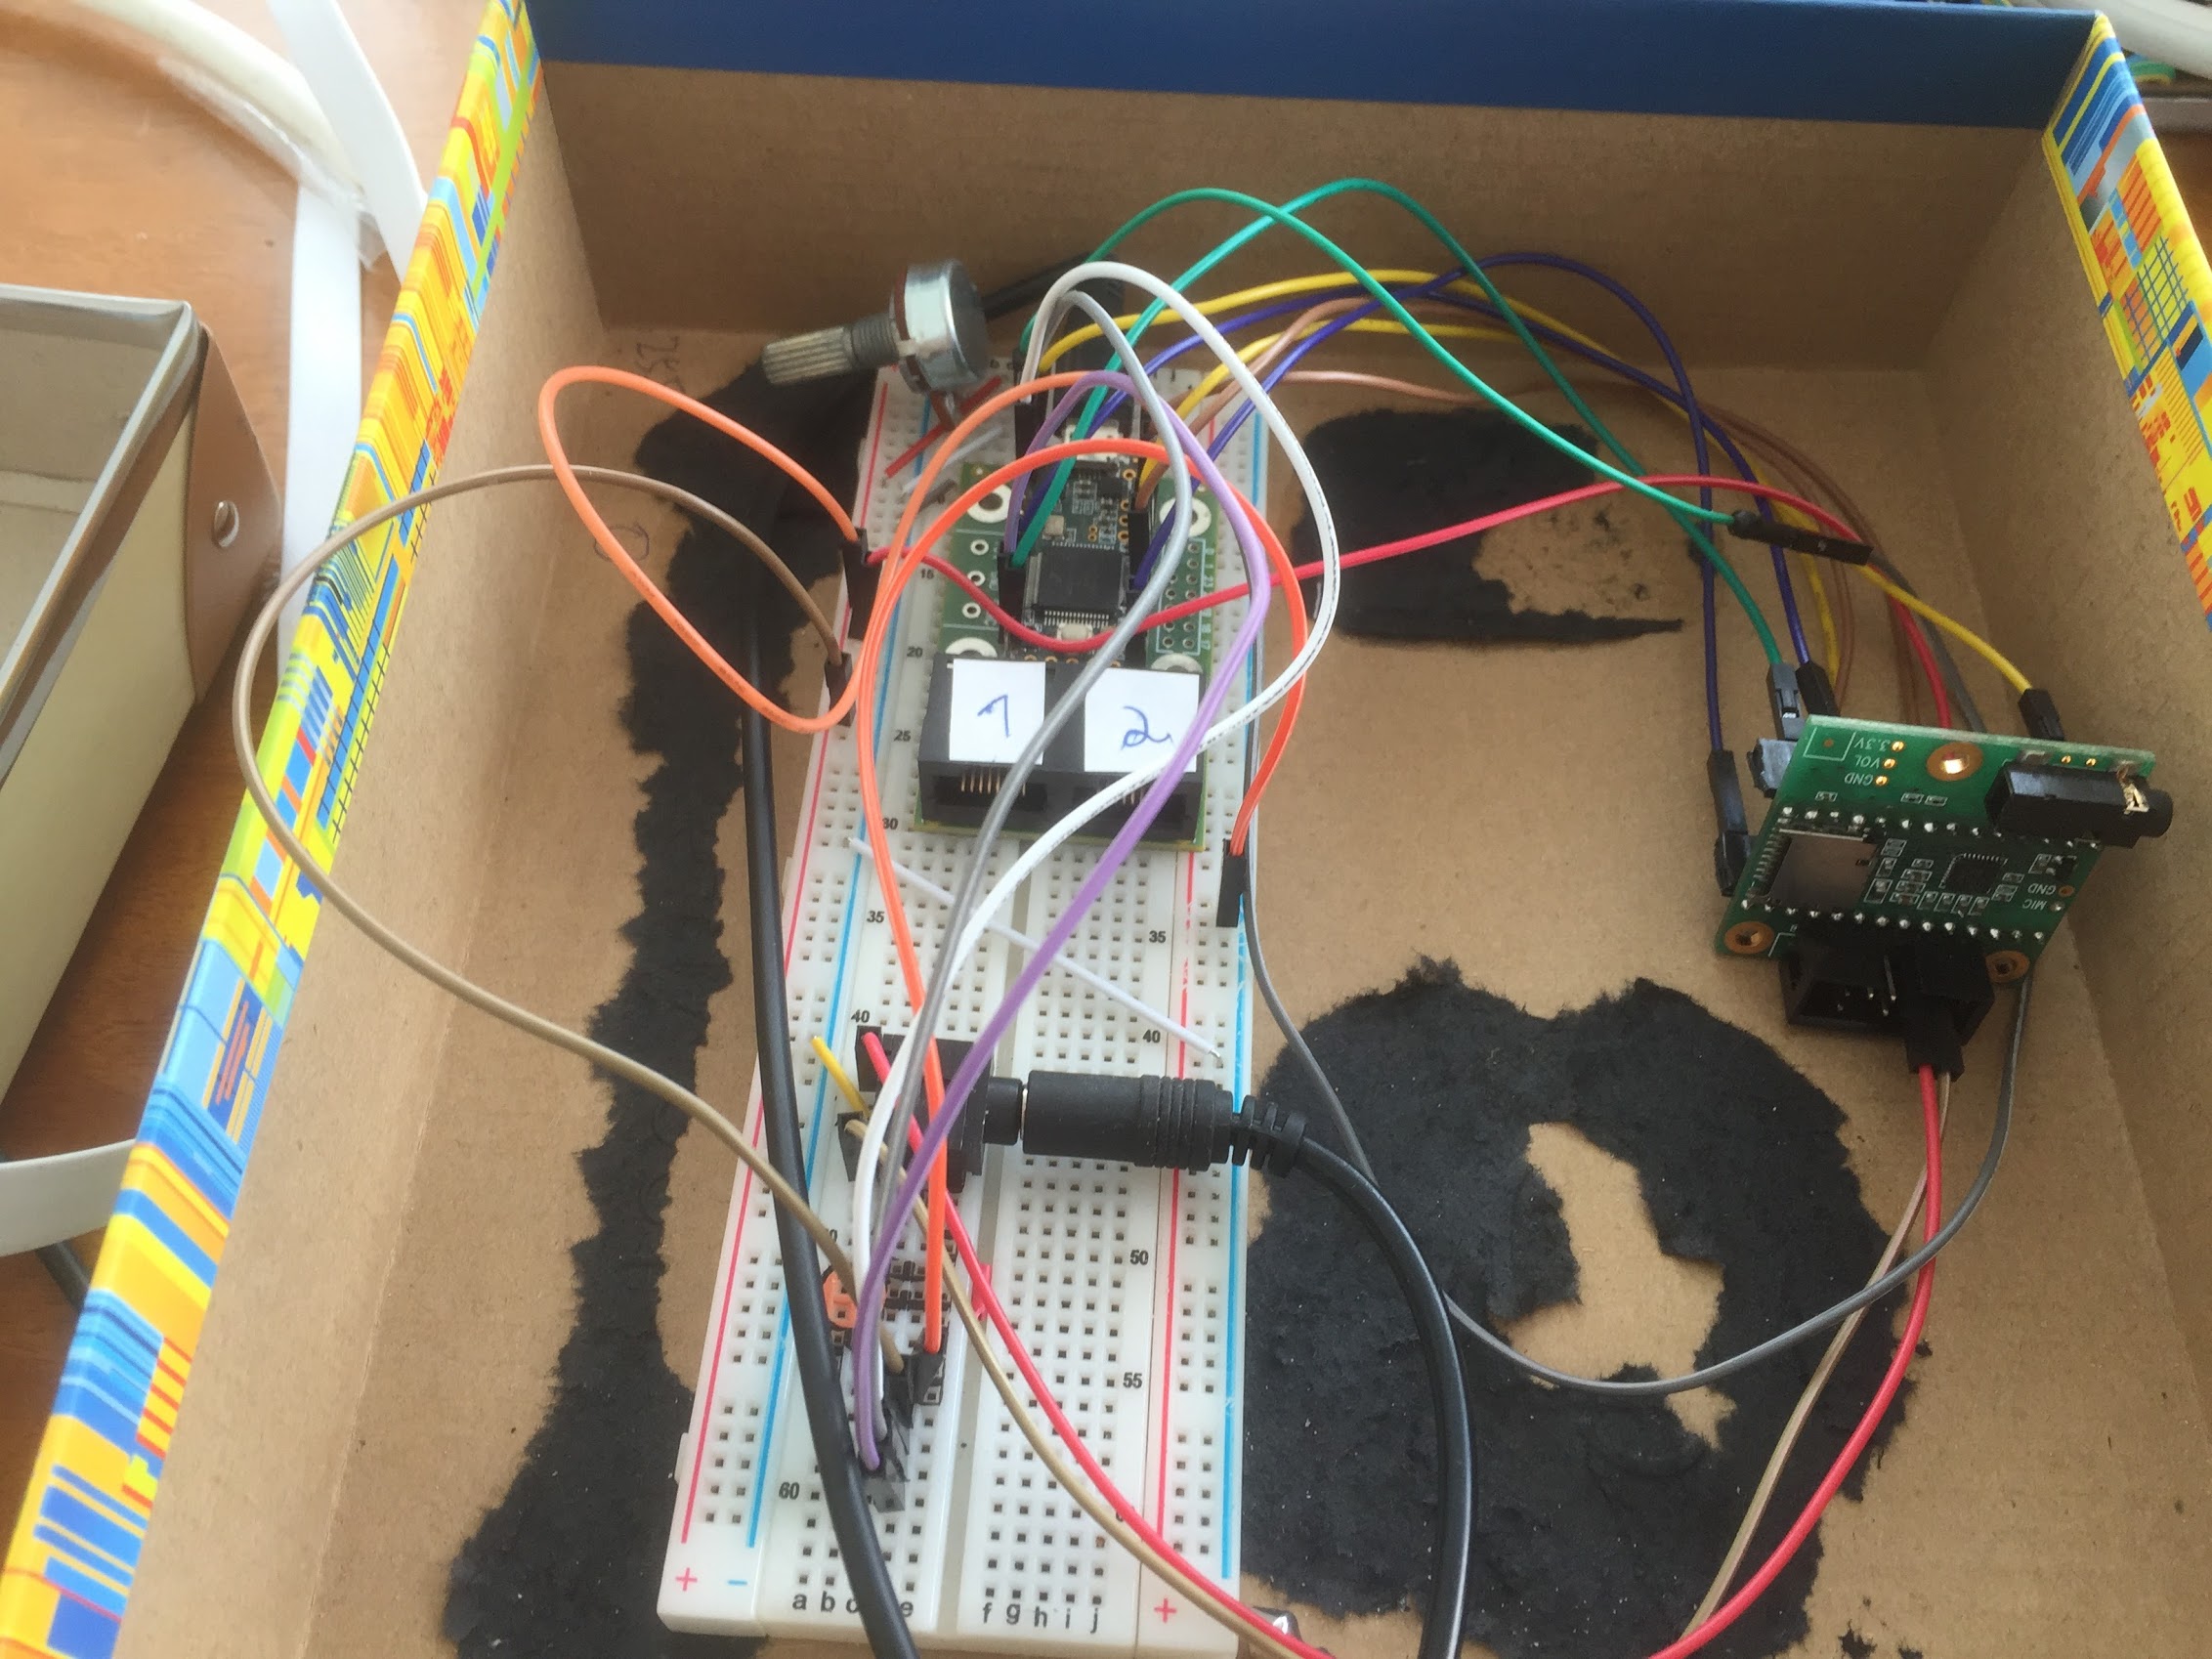
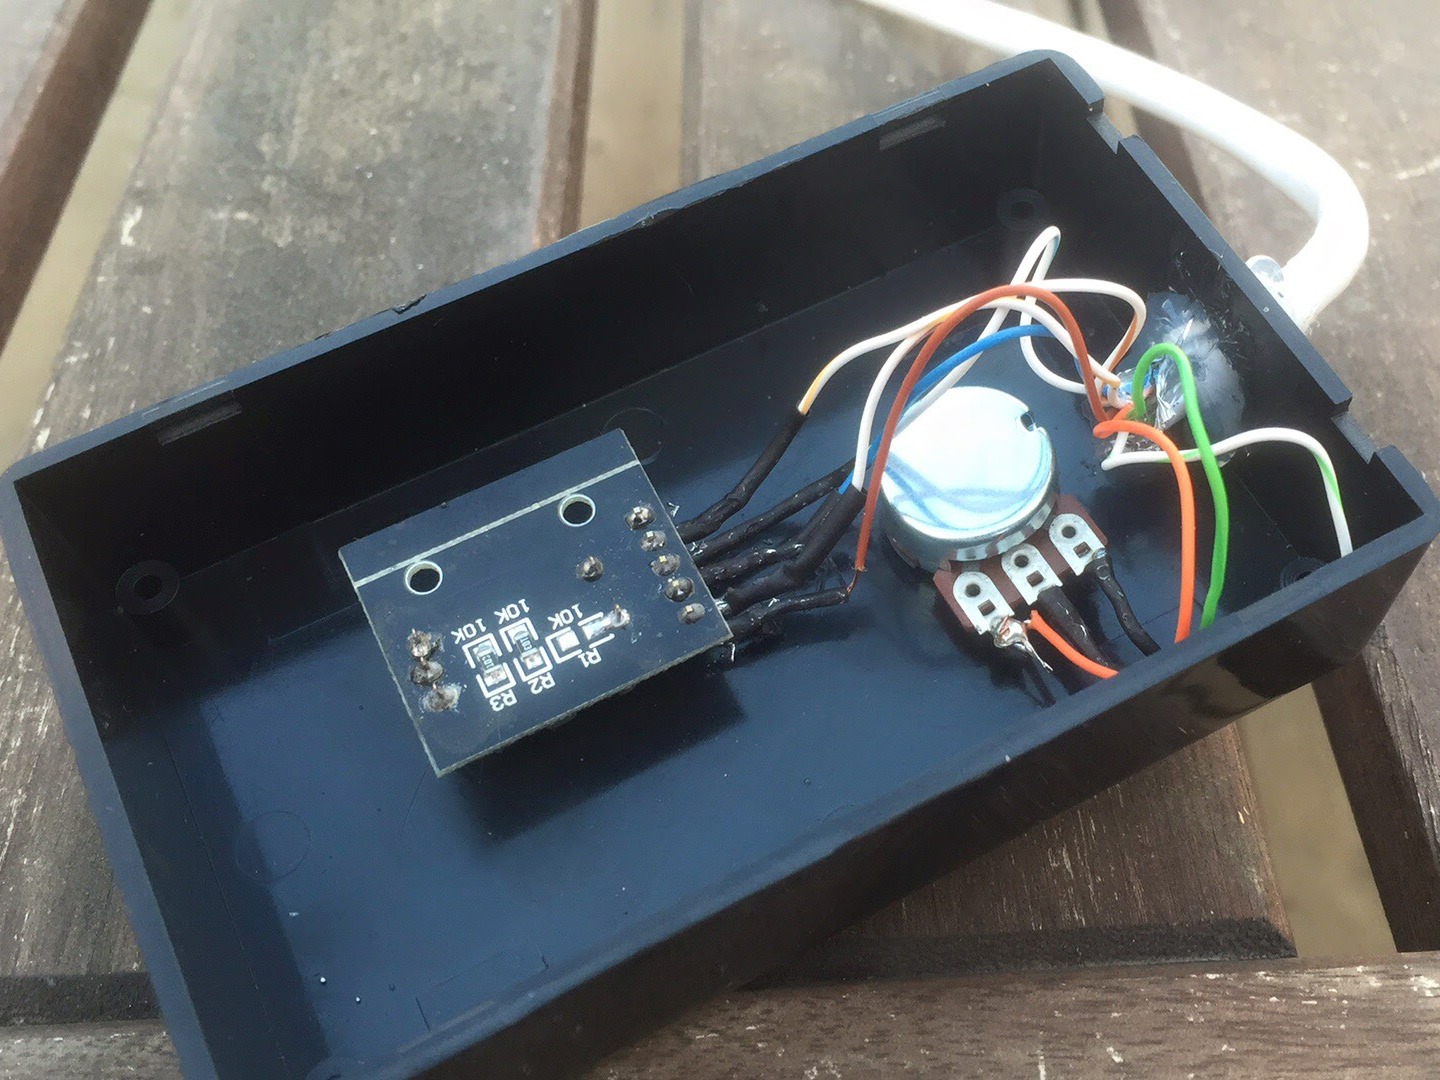
- Processing
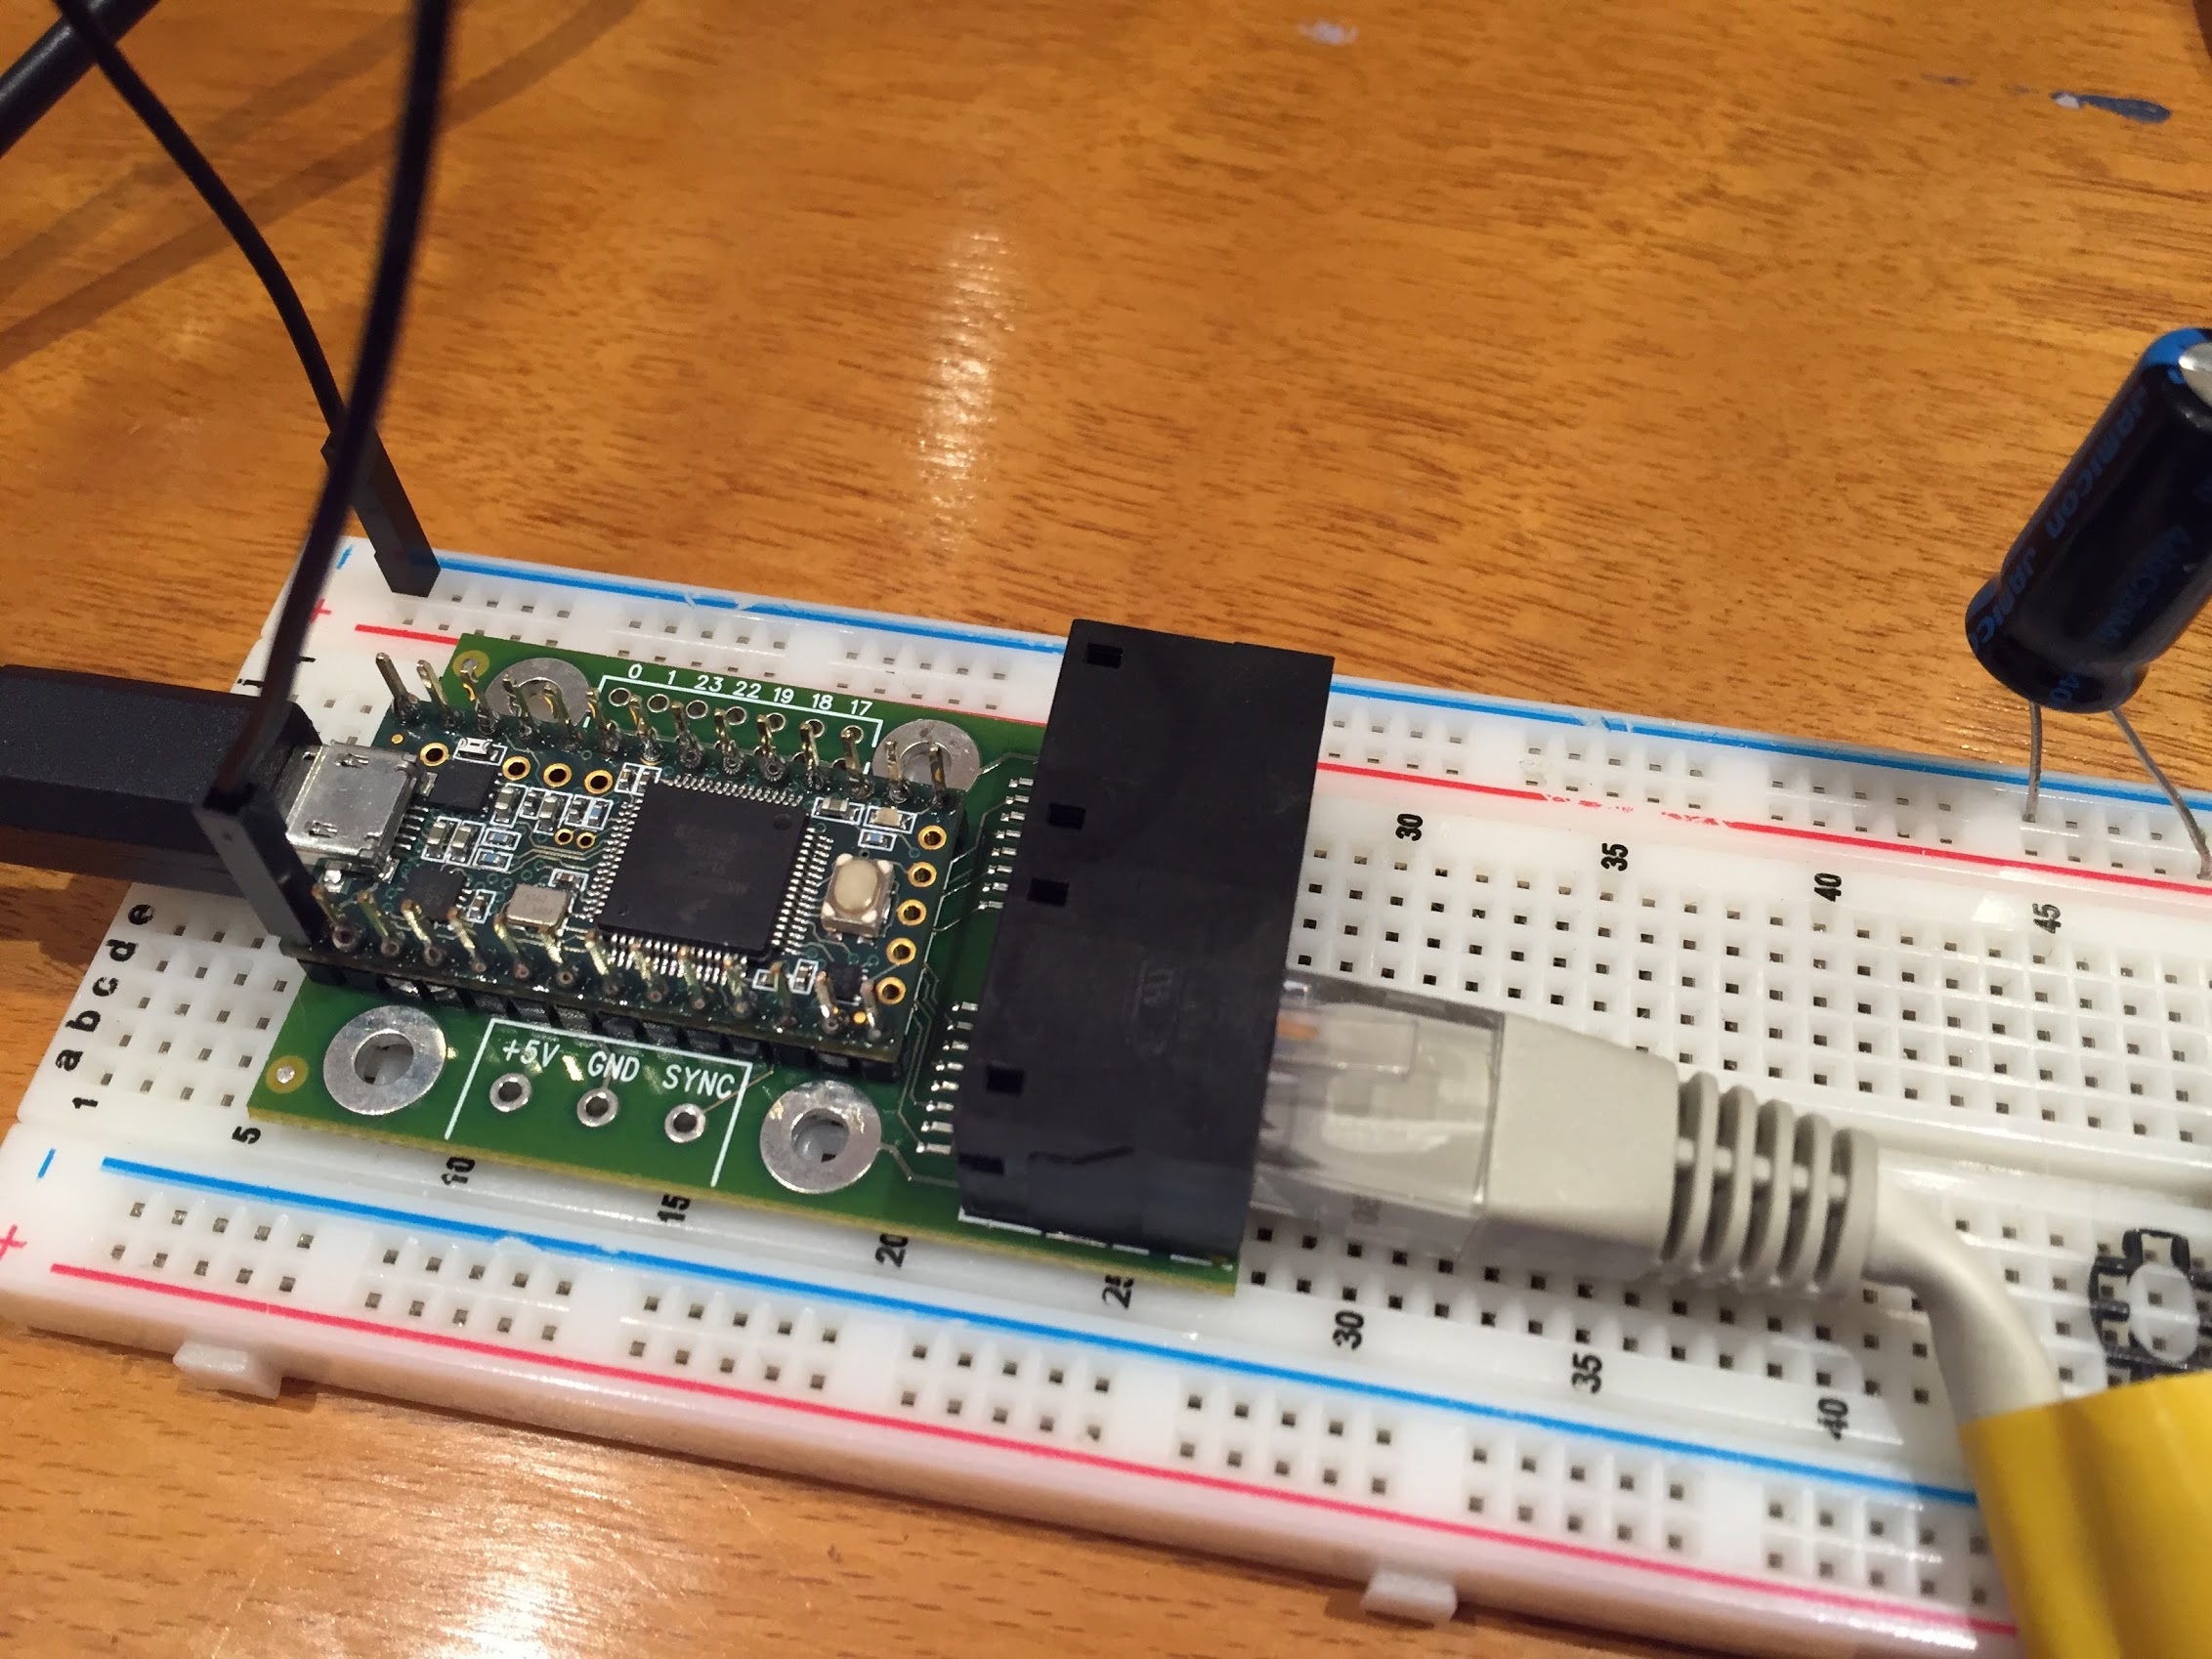
- Teensy 3.2 - 32 bit ARM processor, the “brain”
- Teensy Audio Adaptor - for direct audio sampling
- OctoWS2811 Adaptor - for LED control
- LEDs
- 8 7.3m WS2812b LED strips
- We’ve cut and soldered standard 5m WS2812b (30 LED/m) reels, such as this
- 8 7.3m WS2812b LED strips
- Power
- 1x 5v 60A Power Supply
- 1x 5v 70A Power Supply
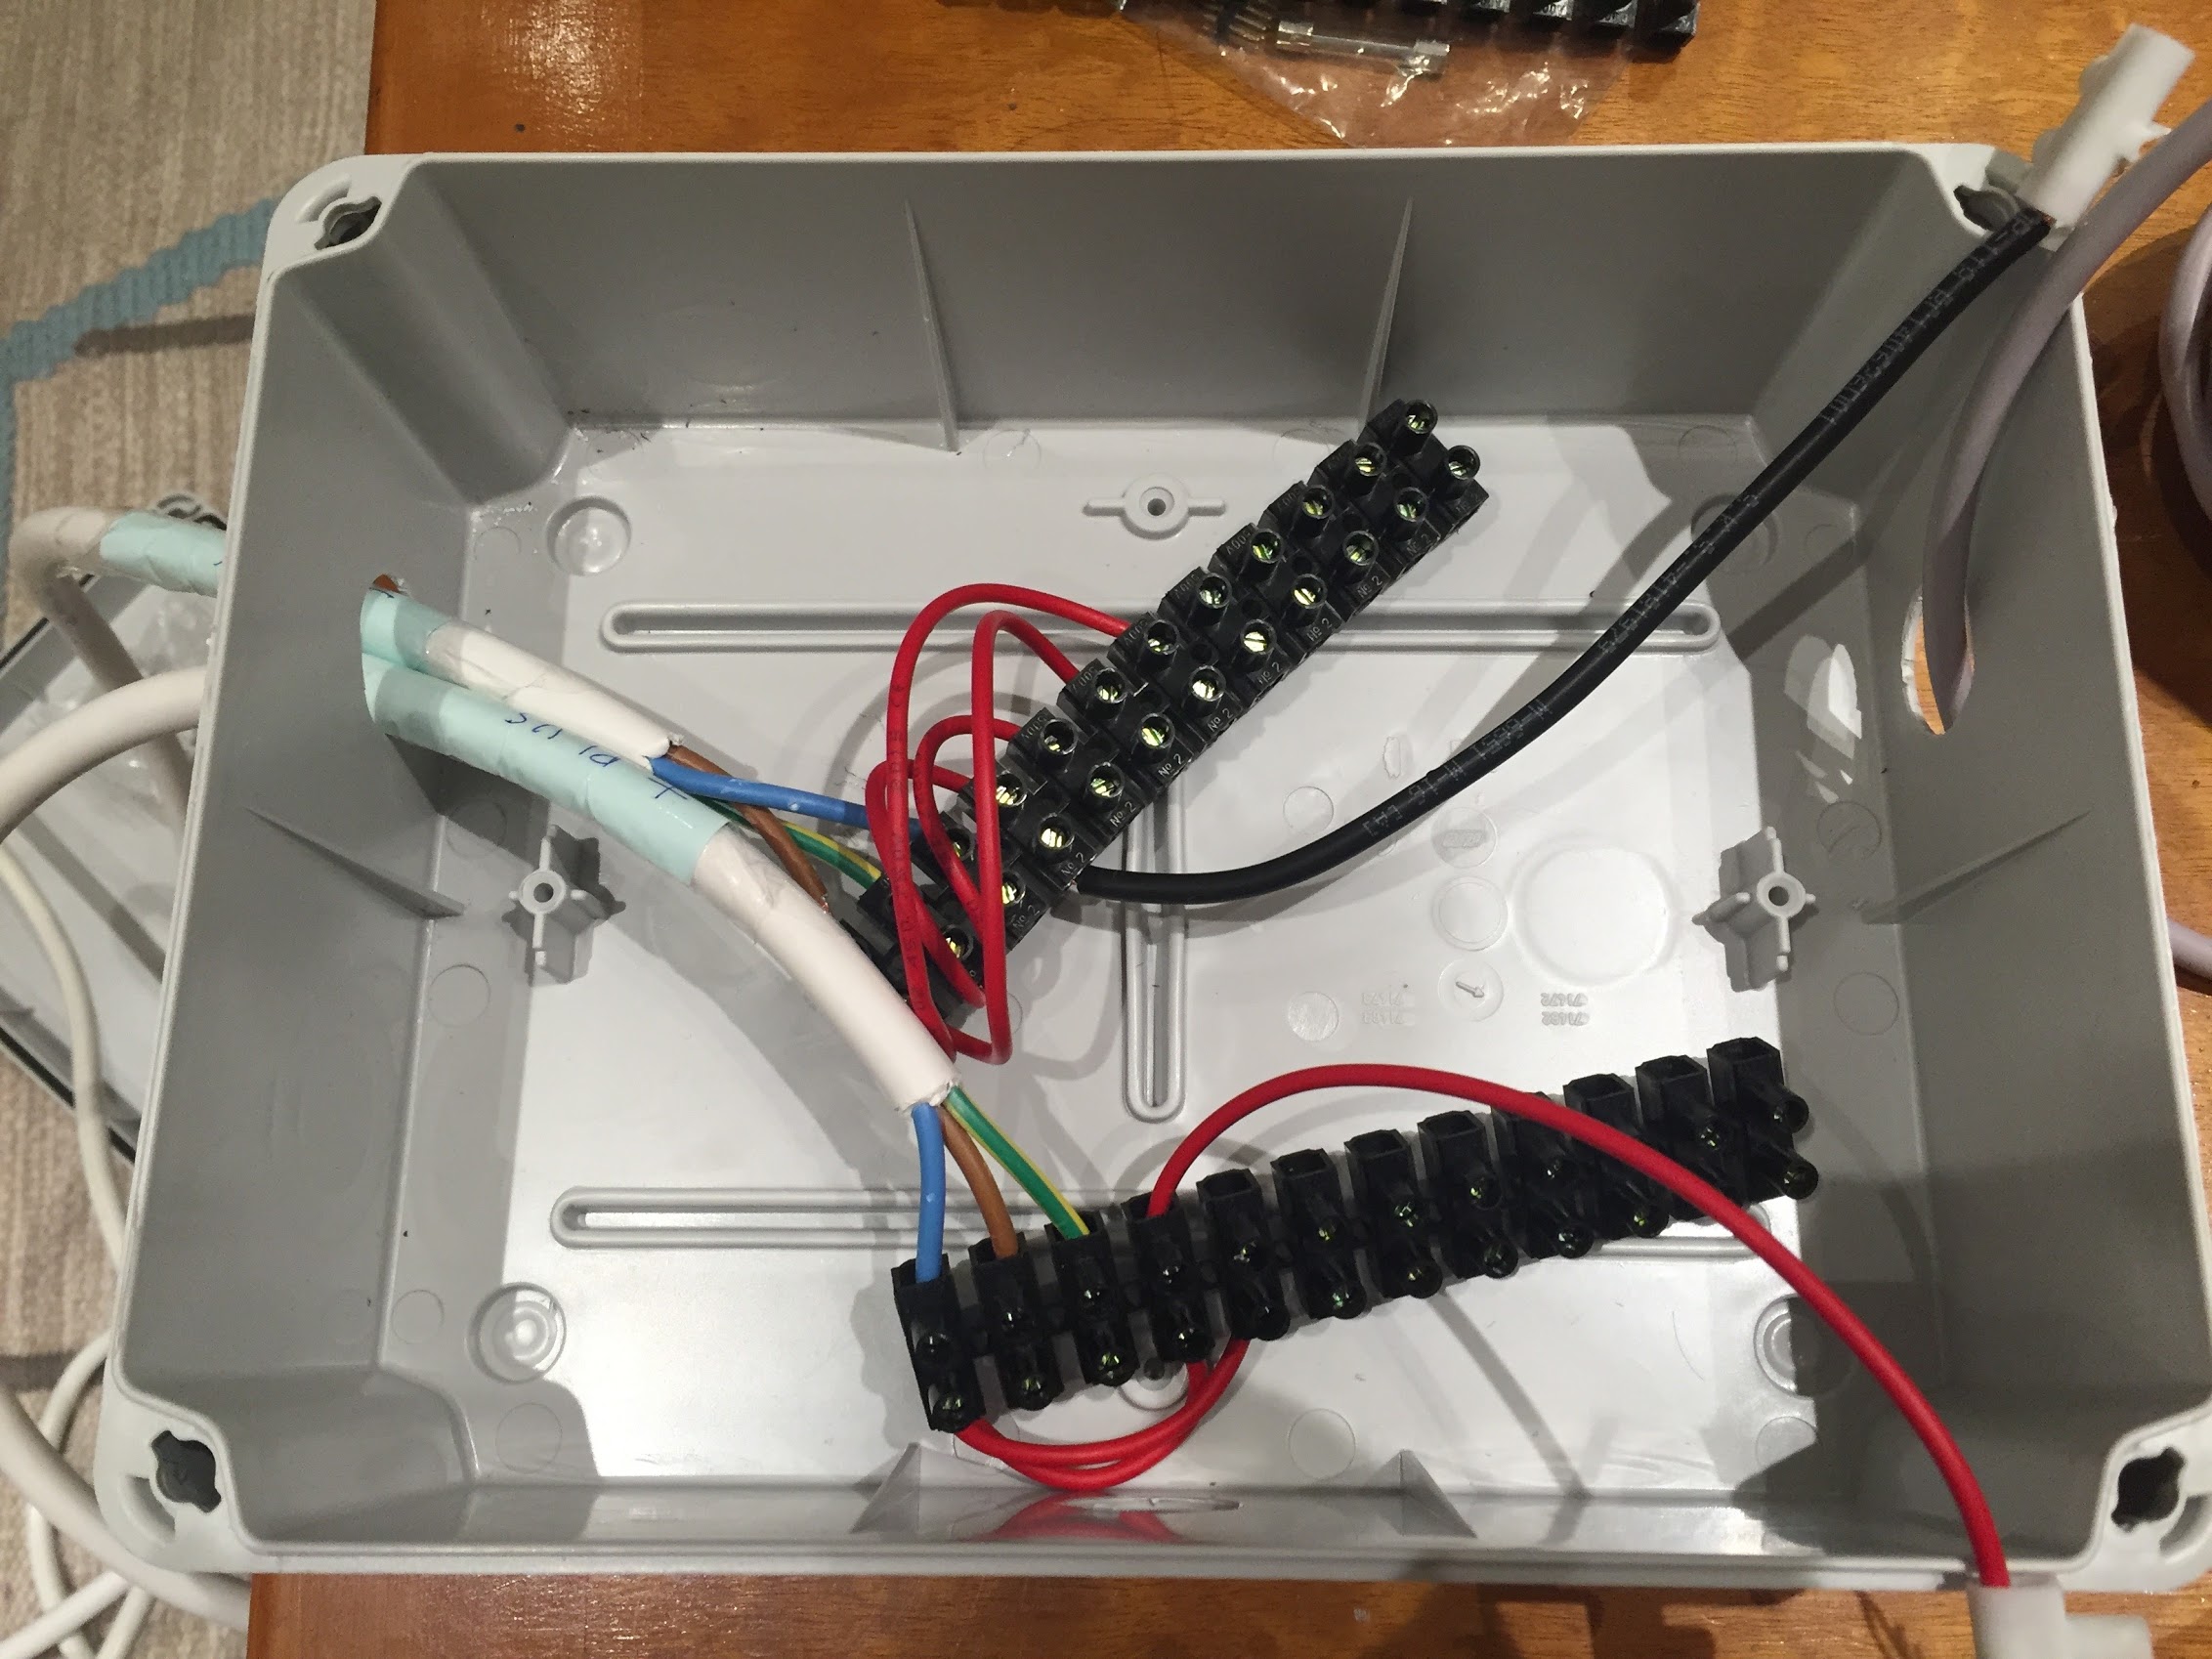
- General Electronics
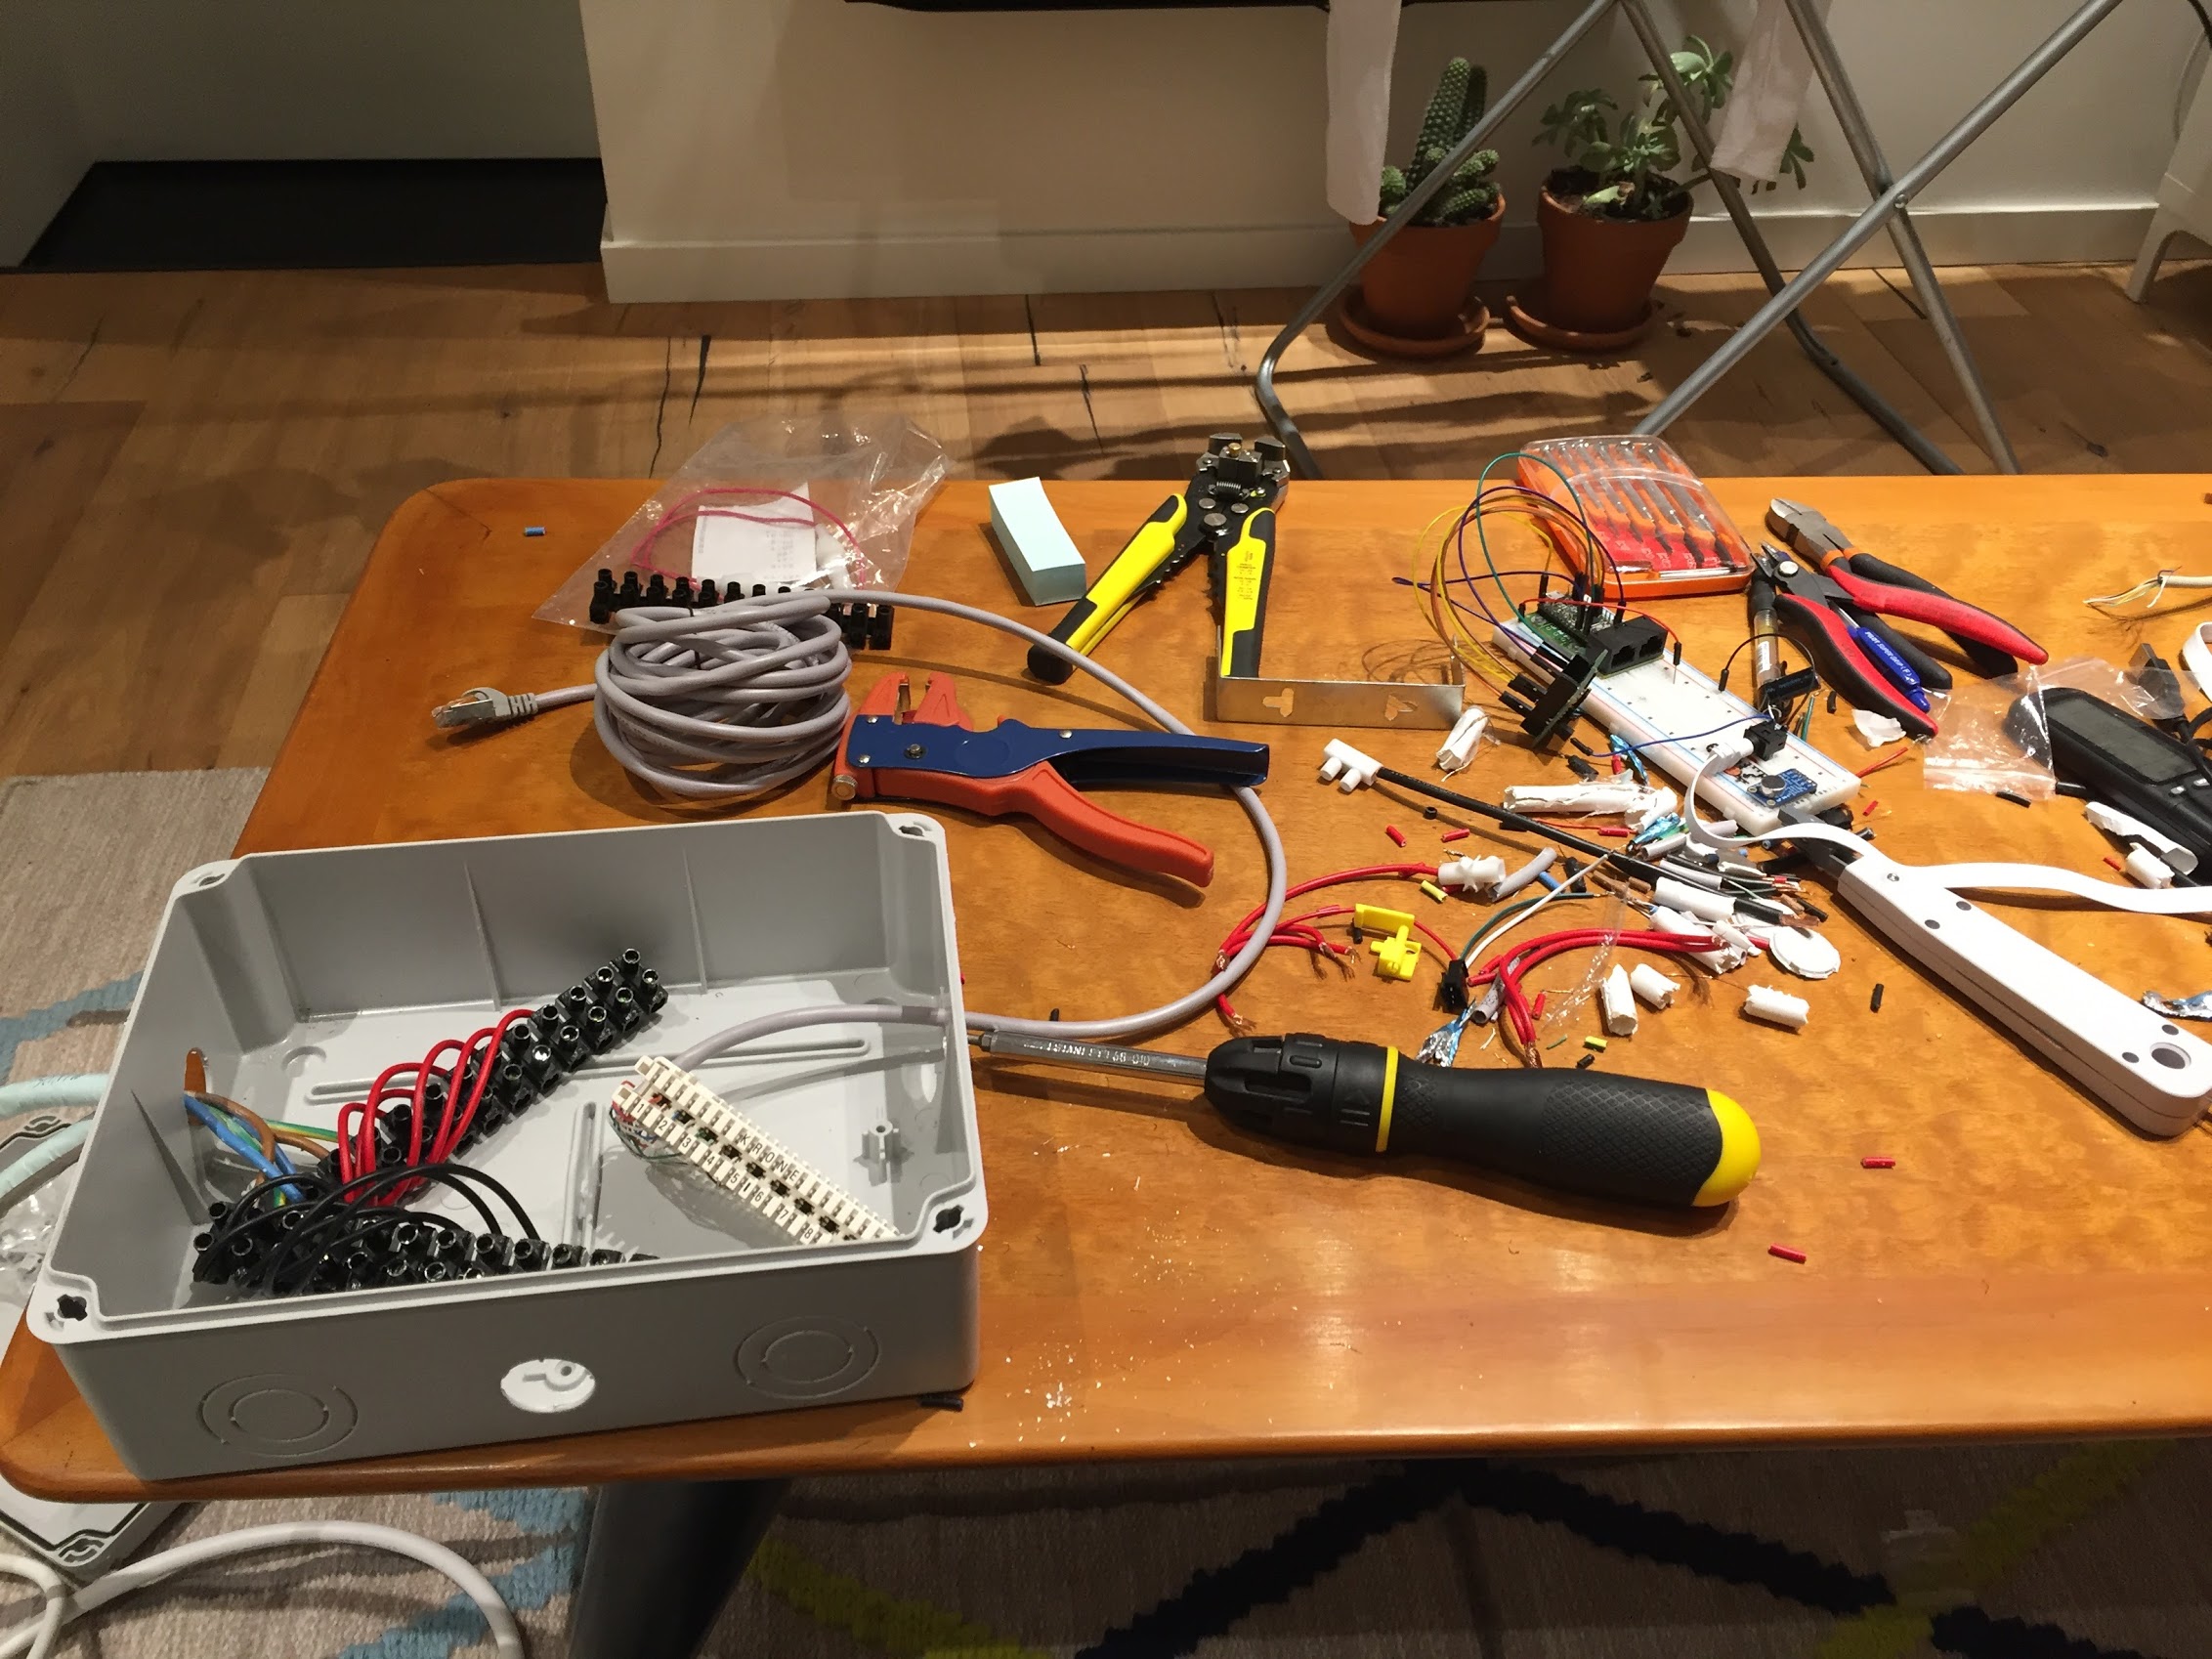
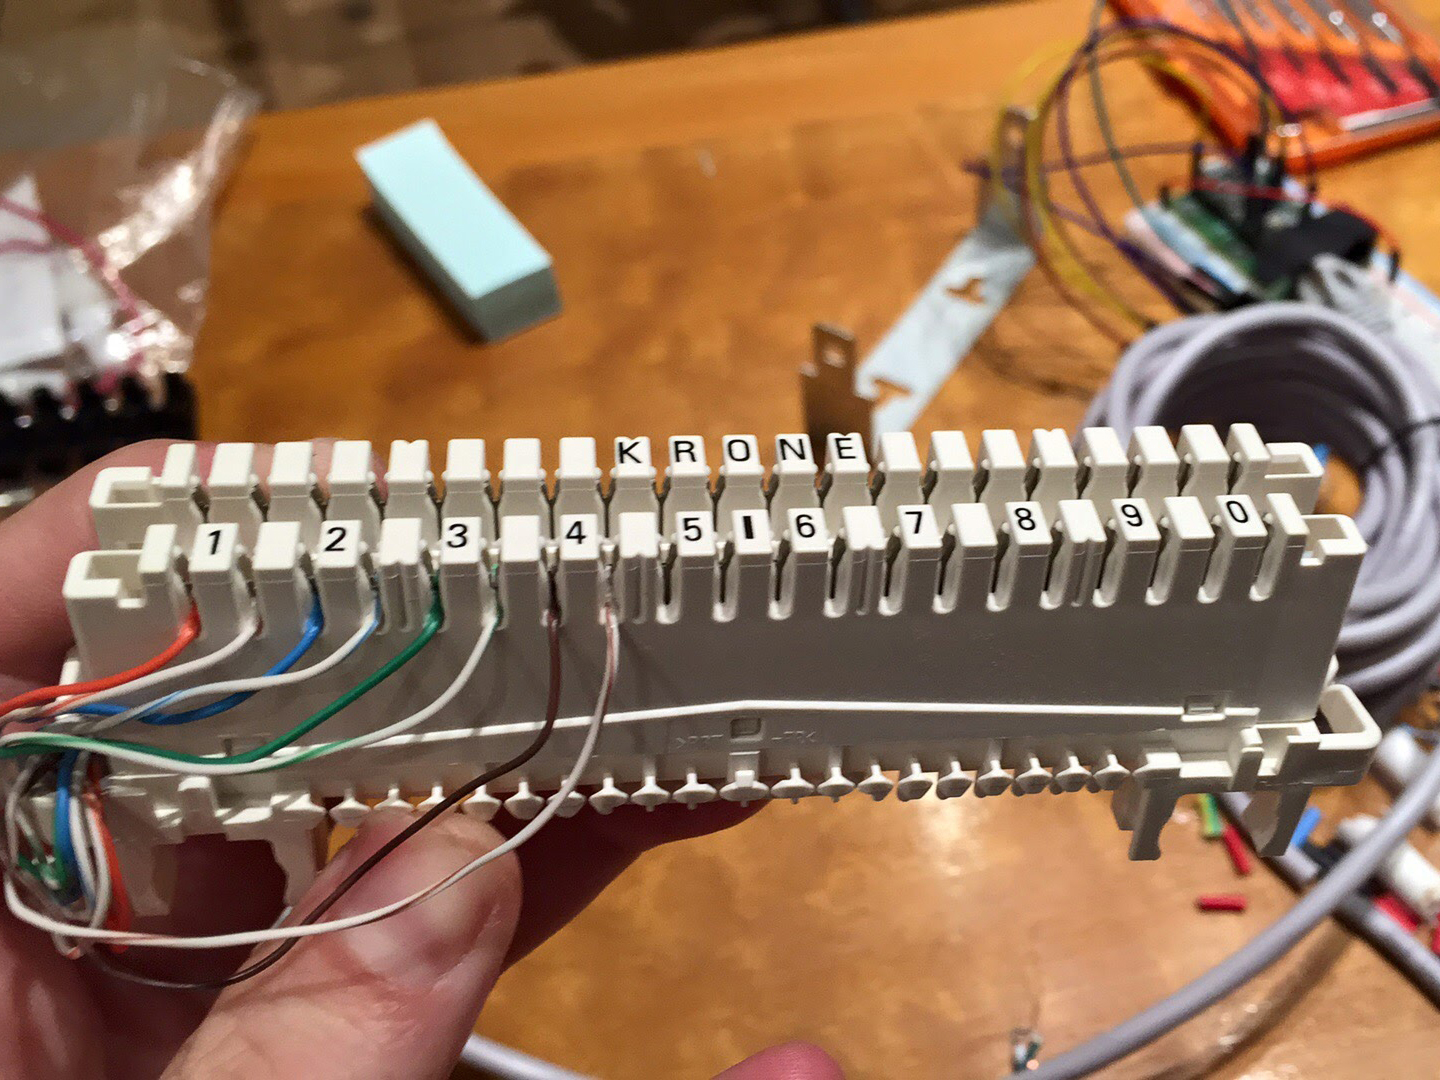
- 2x Krone Module - for easy wiring of the LED strips
- IP67 Plastic Enclosure - to hold all the electronics
- Ethernet cable
- Various power connectors and cables… too many to remember
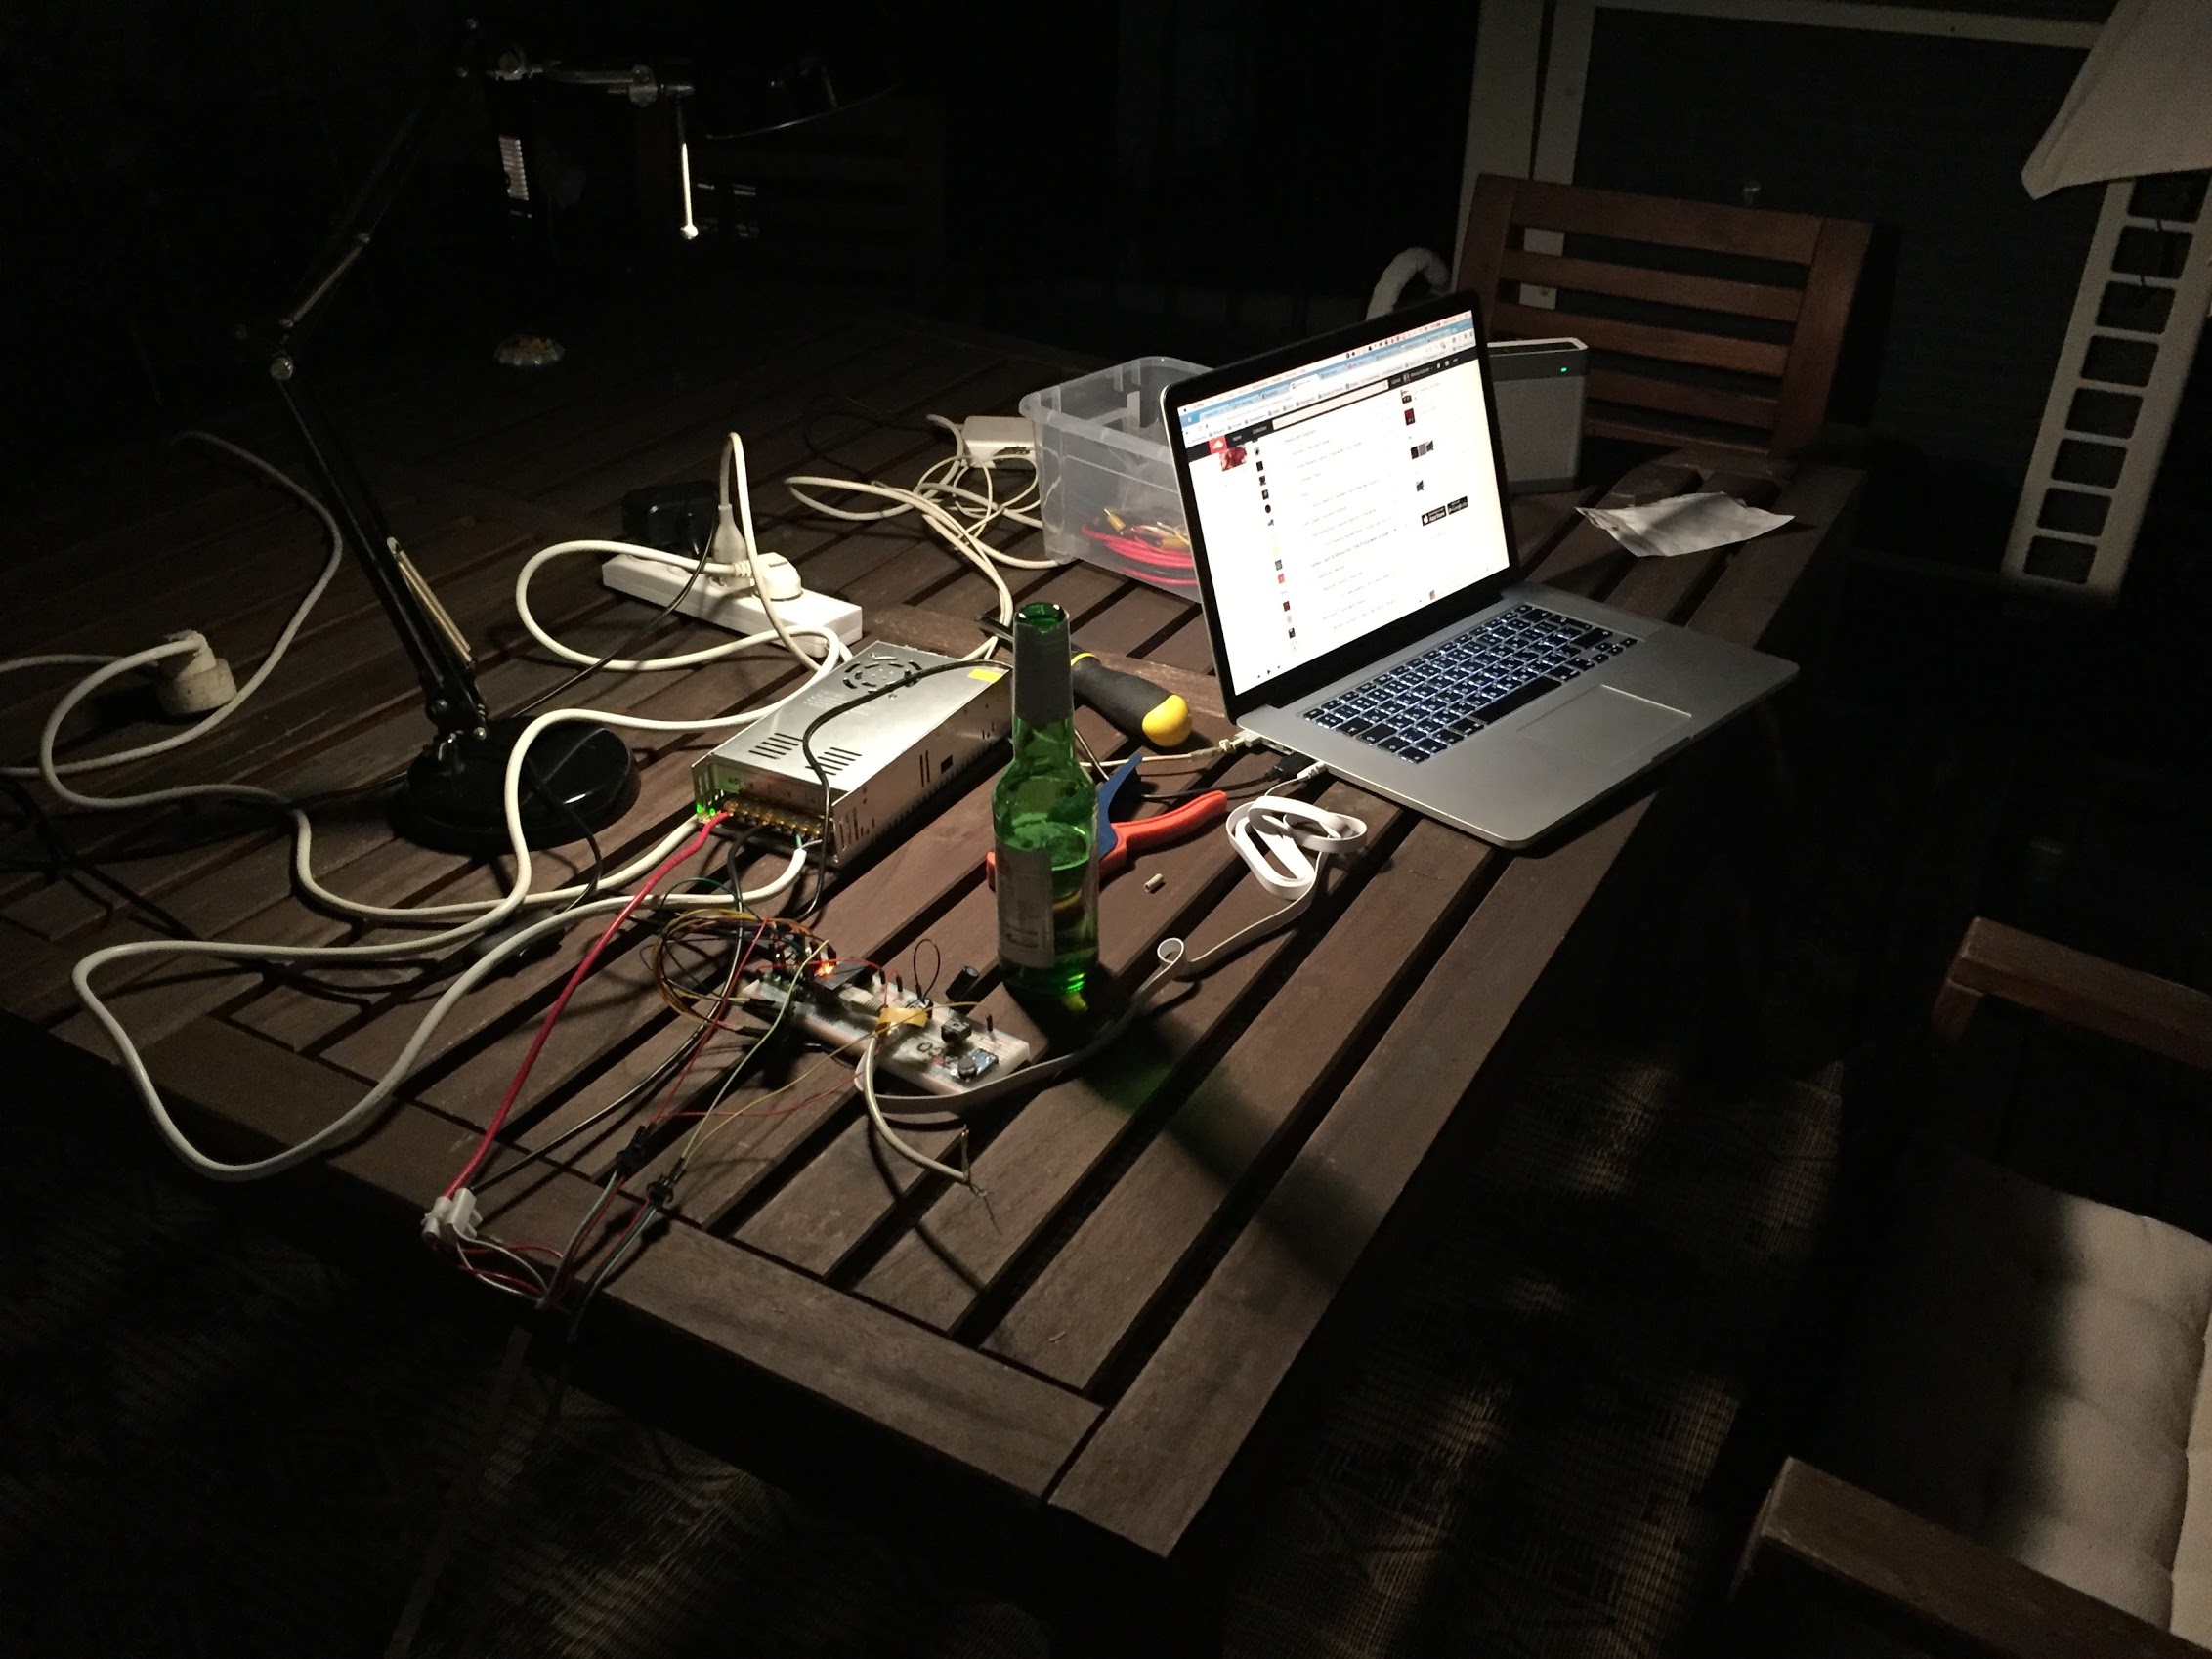
Since we had around 60m (!!) of LEDs to control, the power and processing requirements were pretty high. Each WS2812b LED can theoretically draw 50mA when set to full brightness, so 1680 LEDs (each strip had 210 LEDs) can use up to 84A, this is pretty crazy (around 420W since the voltage is 5v). The maximum frame-rate was also pre-determined, we used OctoWS2811 which used efficient DMA-based data transfer, this allowed us to have around 86fps, or 11ms update rate. This enabled us to code some pretty slick animations.
As I previously noted, it took a considerable amount of experimentation to get everything wired and working. It’s one thing to theoretically read how a WS2812b LED works and another to try and power 60 meters of it ;)
| Brightness | Color | Start Voltage | End Voltage | Voltage Drop | Drop Percent |
|---|---|---|---|---|---|
| 11.76% | White | 4.21 | 3.95 | 0.26 | 4.73% |
| 19.61% | White | 3.57 | 3.16 | 0.41 | 7.45% |
| 27.45% | White | 3.29 | 2.84 | 0.45 | 8.18% |
| 11.76% | Red | 4.62 | 4.52 | 0.1 | 1.82% |
| 27.45% | Red | 4.08 | 3.83 | 0.25 | 4.55% |
| 39.22% | Red | 3.74 | 3.31 | 0.43 | 7.82% |
| 58.82% | Red | 3.21 | 2.61 | 0.6 | 10.91% |
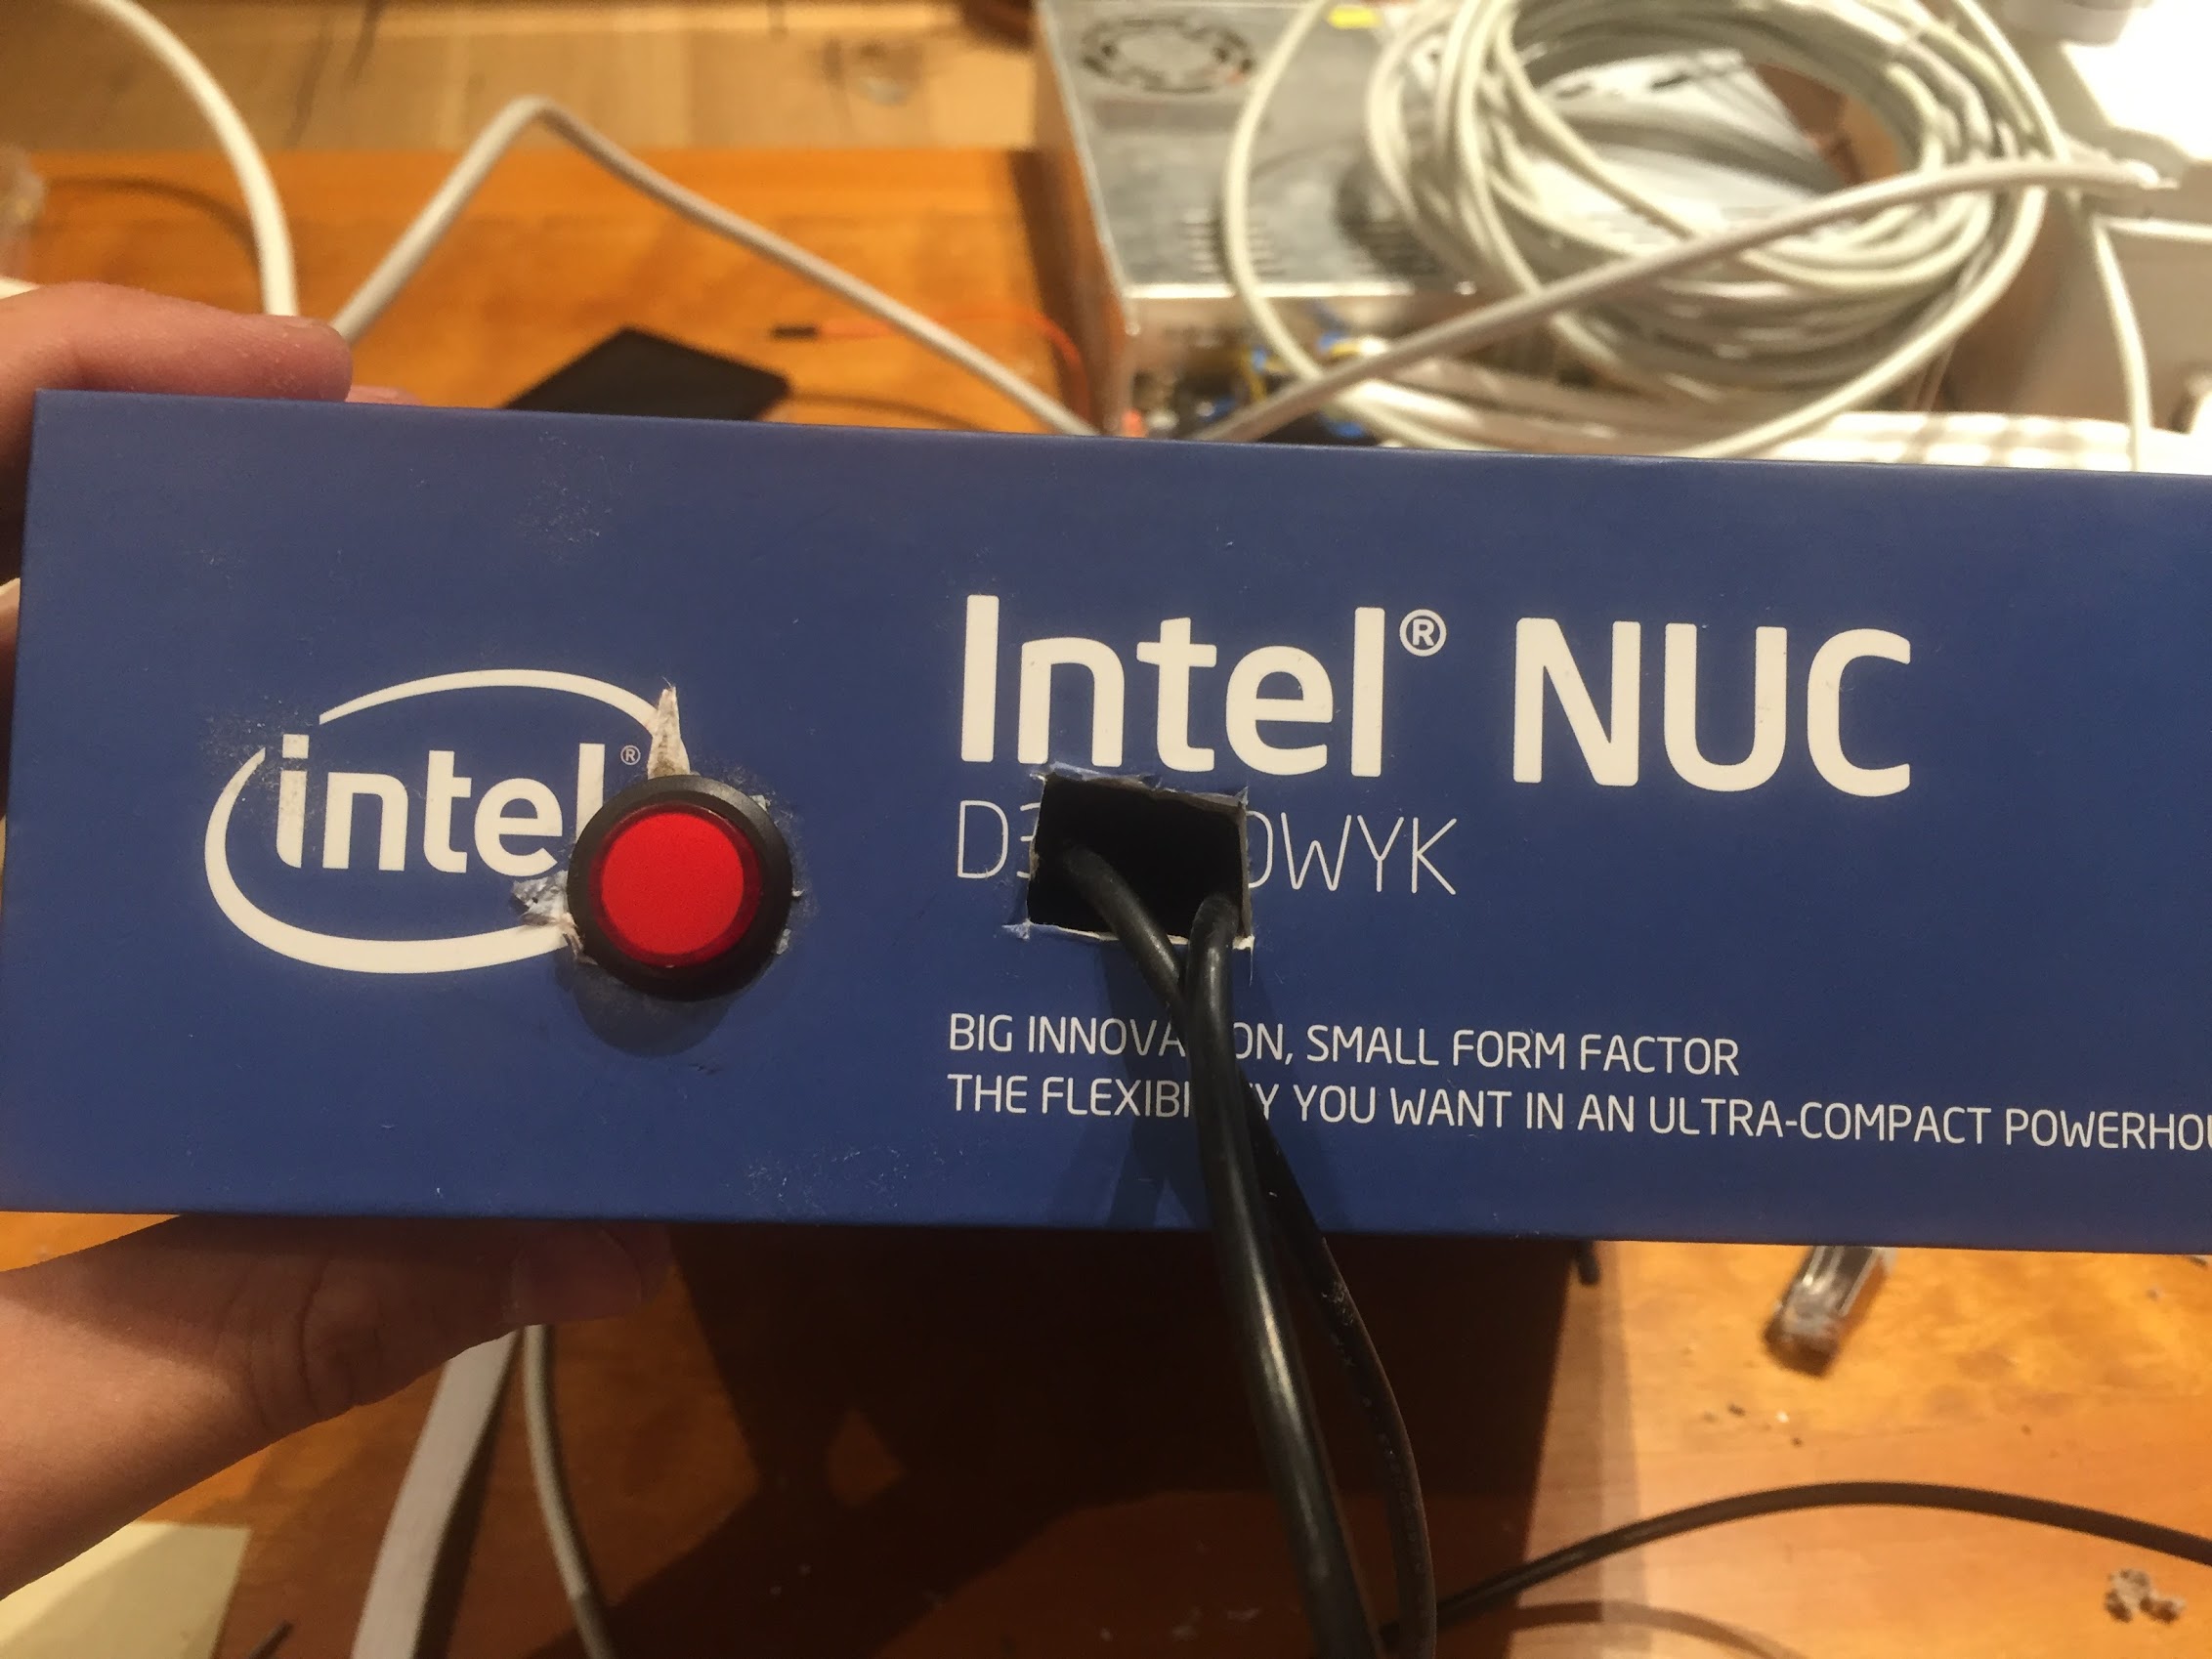
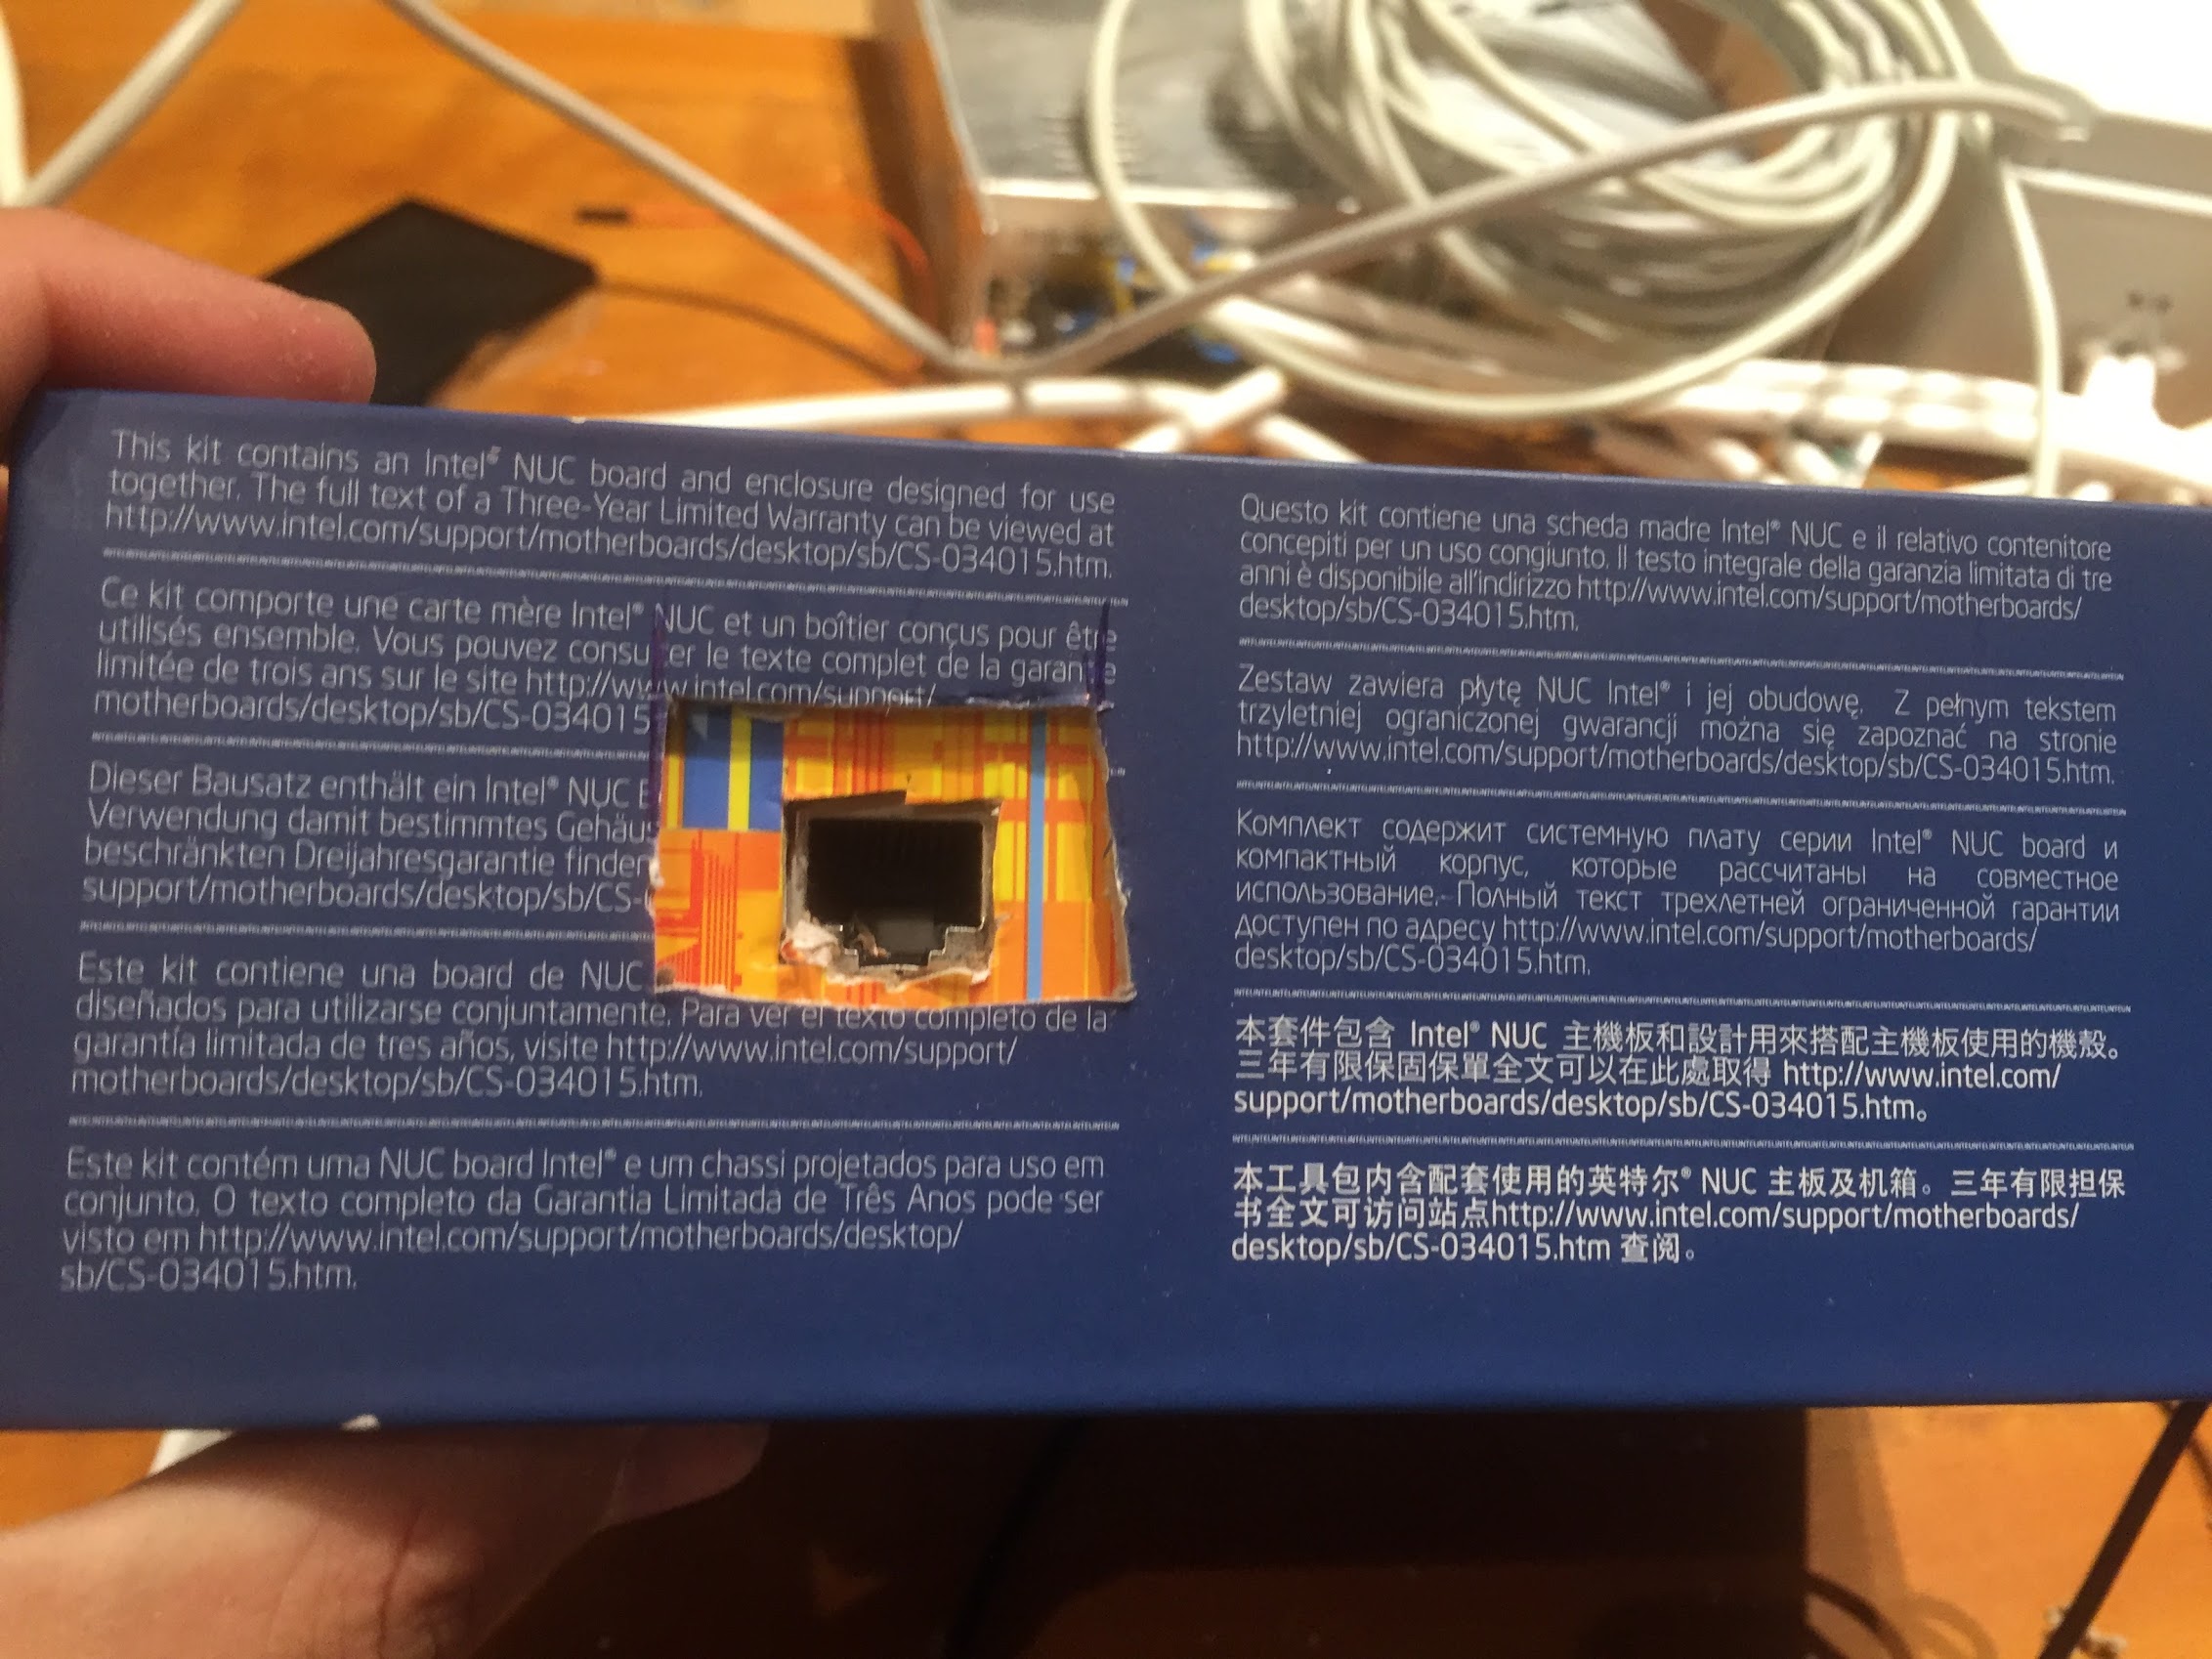
Even though there’s an Intel NUC box we didn’t use it! Only the box was used ;)


Software
The Teensy 3.2 is a tiny 32bit ARM board (72 MHz Cortex-M4), a powerful little beast. It had a rather complete development environment which allowed us to rapidly test and work on the software side of the project. We’ve used the Teensyduino add-on for the Arduino and relied on several open-source libraries.
We’ve sampled audio from the audio board (using a standard 3.5mm jack, so we could connect it directly to the headphone plug of any professional mixer to get live audio feed), fed the samples to an FFT algorithm to digitize the analog audio feed, which was used to drive the LED animations.
Animation Models
David did some awesome work and modeled everything in Processing, software that allowed us to create a full 3d model showing how the animations would look, this really gave us a feeling of how things are going to look
Libraries and code
We relied on several open-source libraries to process the audio and control the LEDs
- FastLED - Library to control and animate LEDs
- OctoWS2811 - Library for using the OctoWS2811 board
- Teensy Arduino Libraries - Various libraries
For each audio sampling cycle we’ve updated the LED matrix, using FastLED combined with OctoWS2811 to update the LED strips, the code roughly looks like this:
|
|
The entire code is available on GitHub (including the Processing animations).
MIND BLOWN
The end result exceeded anything we could imagine, the first time music played and incredible animations came blasting our minds exploded. All the hours of work and countless hacking nights of so many people summarized into that moment, we couldn’t be happier with the result. This could never have happened without the help of many people I didn’t mention here, my memory is pretty bad, feel free to shoot me an email if you want to add something :)